Hello Everyone,
Welcome Back! If you read my last post, you know I’ve been accepted into the Altenew Educator Certification Program. I have to take a series of 25 classes and complete challenges along the way. Today I will be using the techniques I learned in the All About Layering 2 Class.
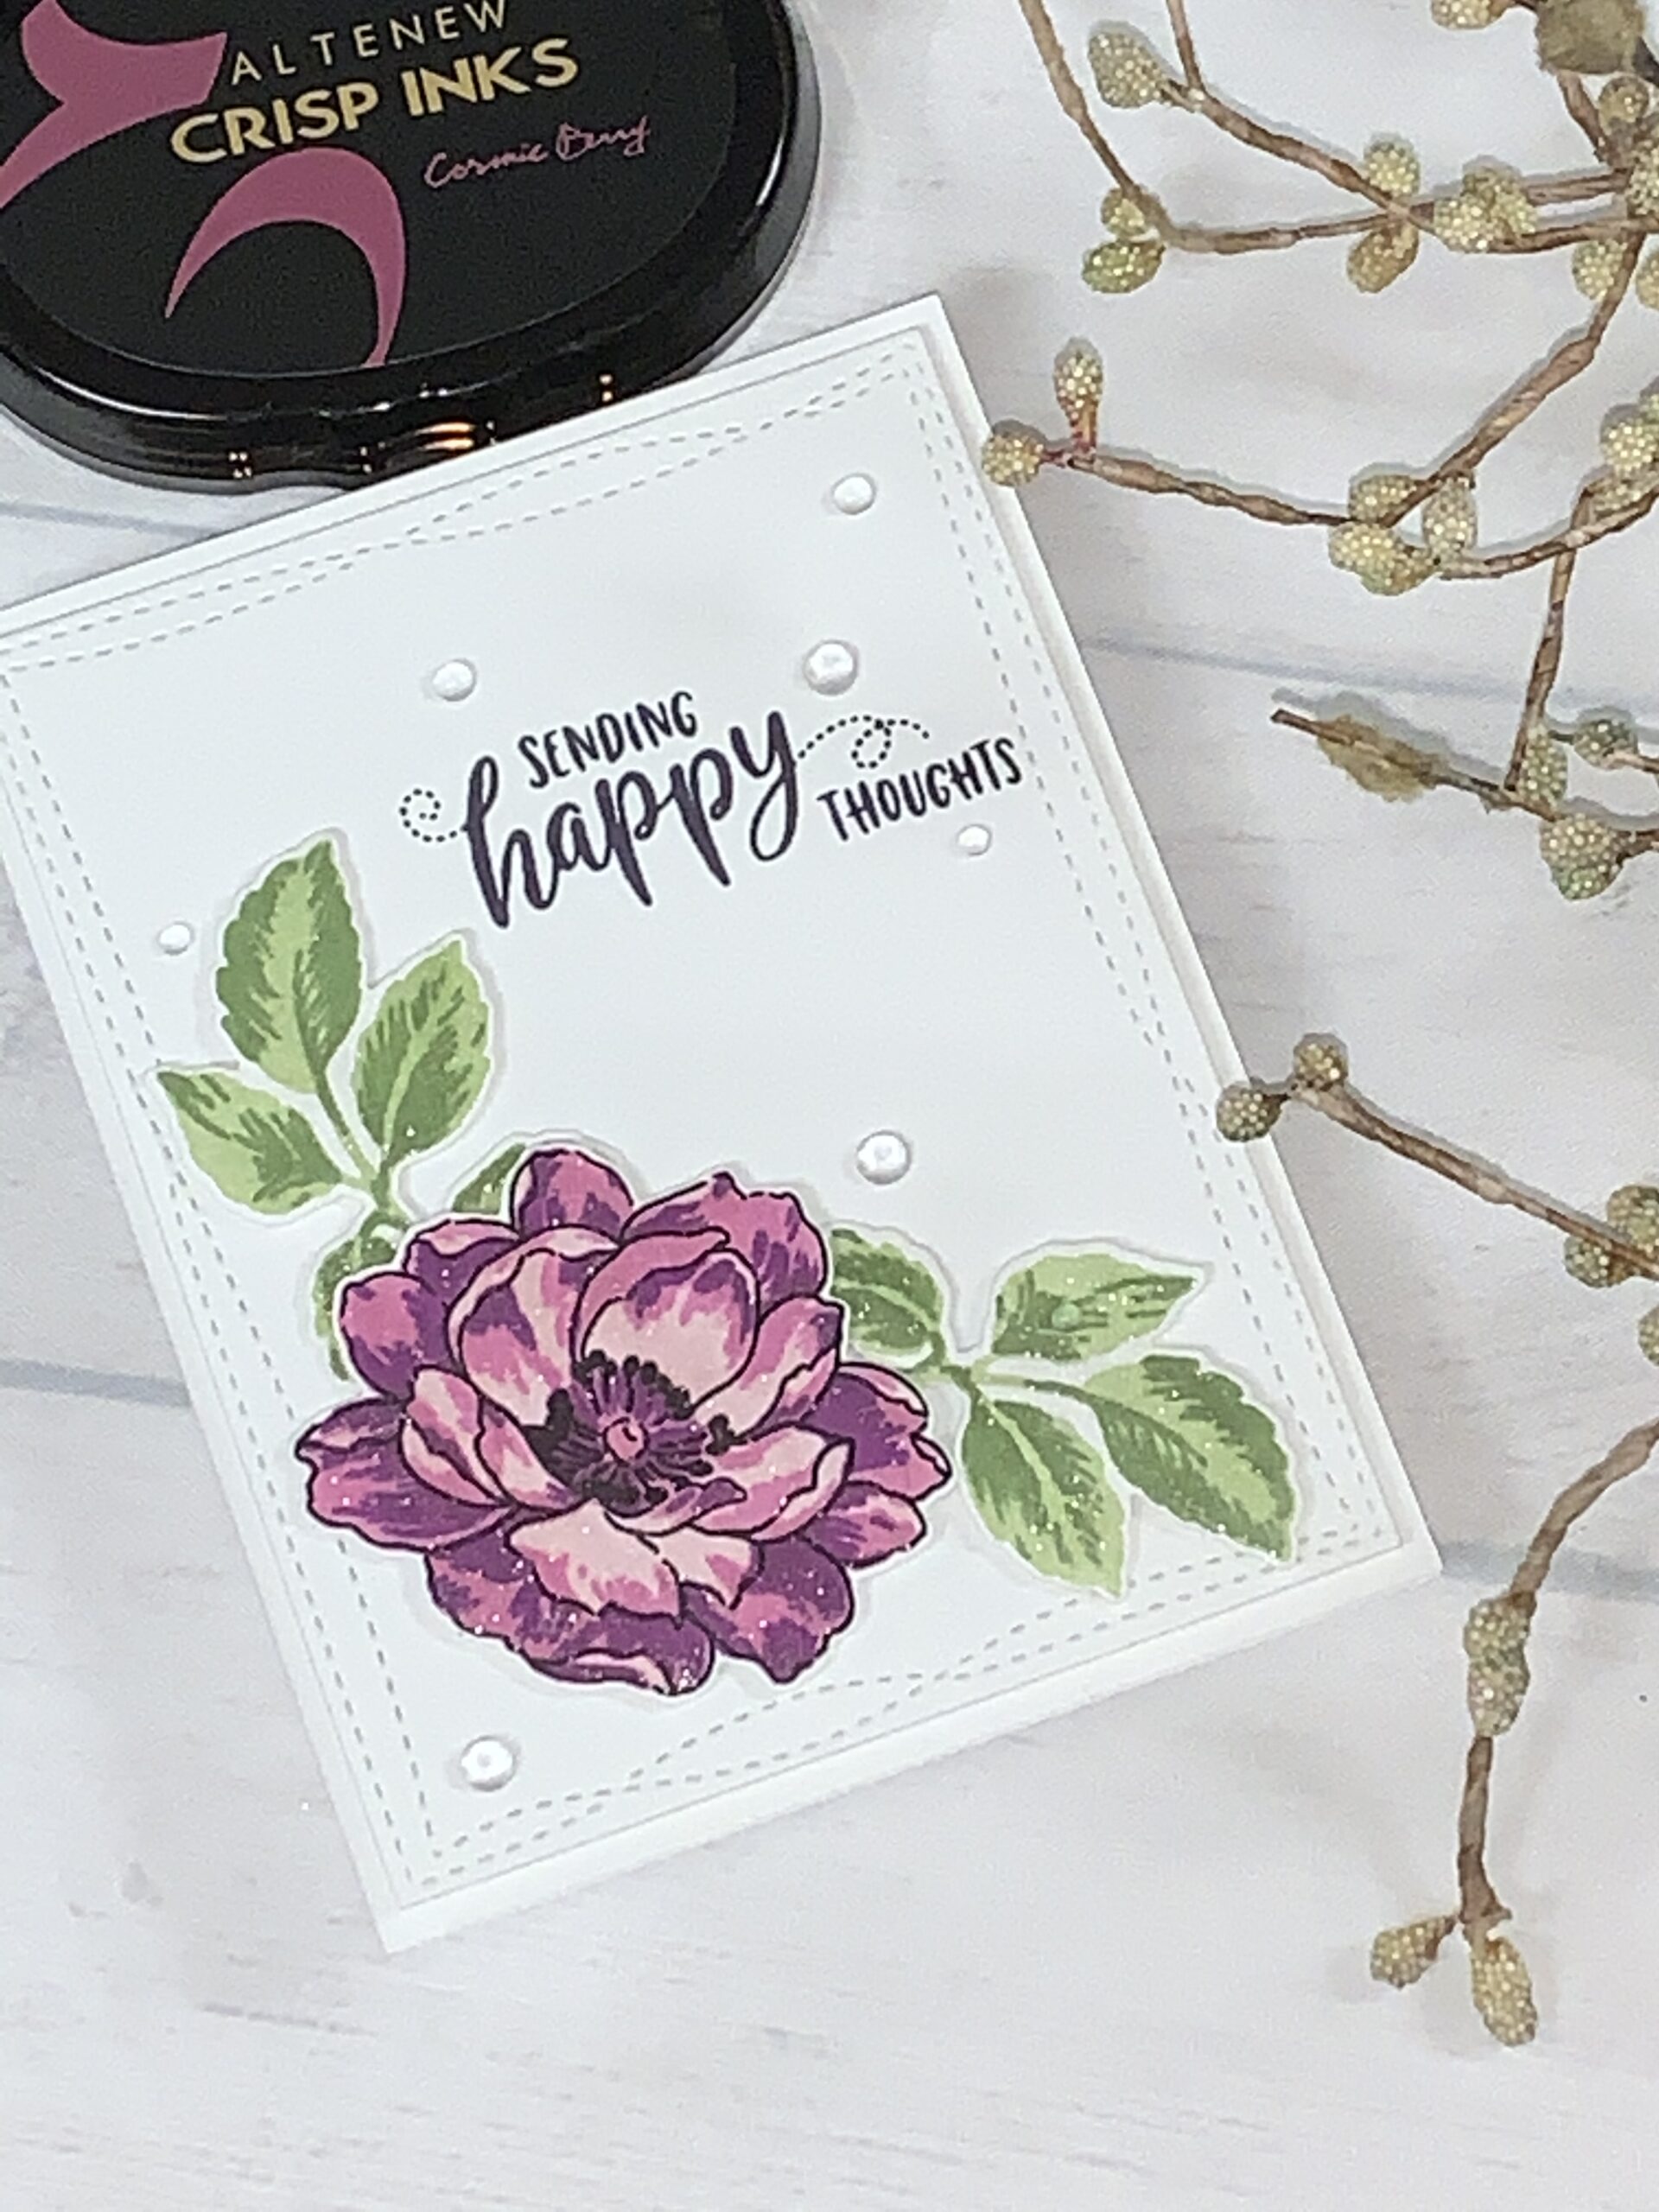
For this card I will be using the Altenew Beautiful Day Stamp set and Dies along with the The Stamping Village “Thinking of You” Stamp set (This stamp set is a collaboration between 12 companies that came together to design it. With every purchase of this stamp set $5.00 will be donated to the Save the Children Foundation. This is such a wonderful organization).
So let’s get started on the card!!
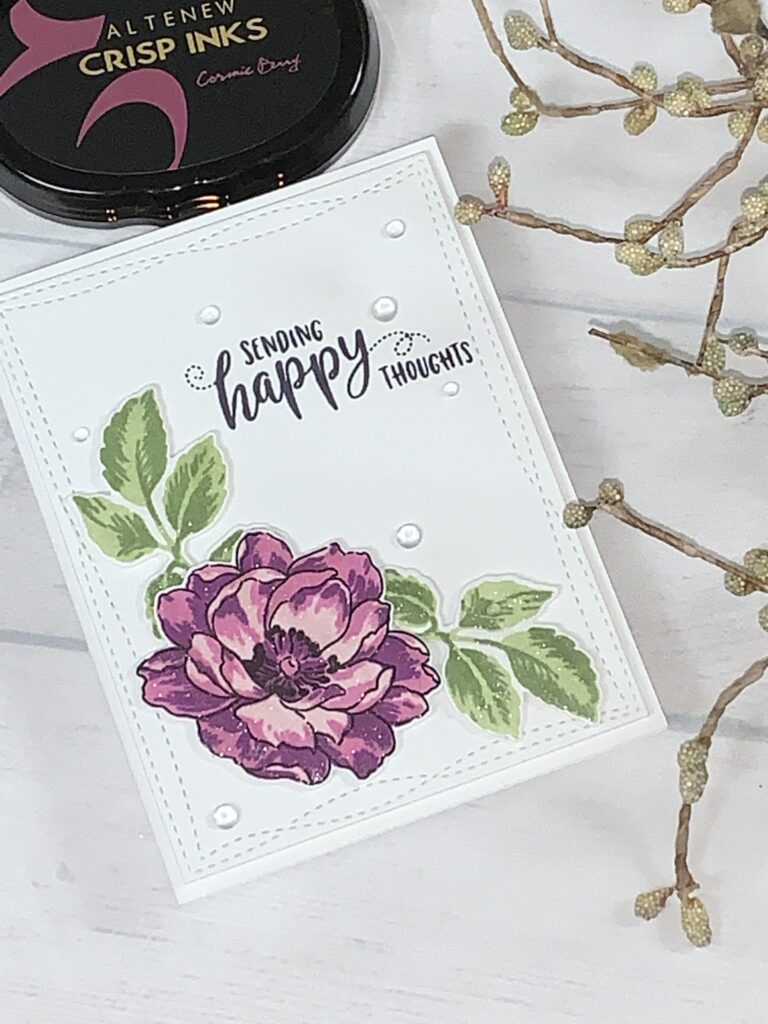
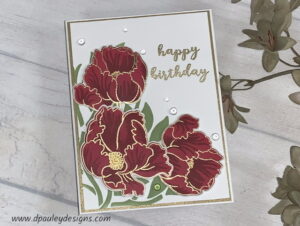
The Beautiful Day stamp set has 4 layers to it. It has an outline image, a solid image and two accent images. The flowers are very easy to line up. First I will stamp my outline image onto some Neenah Classic Crest 110lb cardstock using my Altenew Obsidian Black Ink. I just love how crisp and clean the Obsidian Ink Stamp onto paper. Once I have my outline image done, I will then stamp the solid image directly onto the outlined image using the Altenew Rose Quartz Ink. Since I’m going for a darker image flower I decided to double stamp the solid image. When I’m done I will bring in the third image in and stamp it with the Altenew Puffy Heart Ink. I will double stamp this image as well. Finally I will stamp my last image using the Altenew Cosmic Berry Ink. I love how the lighter pink looks next to the darker pink. So I decided to double stamp this image to give it an even more drastic look next to the light pink.
Next I stamp two sets of leaves. I stamp the solid image using the Altenew Frayed Leaf Ink. I double stamped the image to make it a little darker. Then I brought in my second image (this Leaf set has three images to it but I chose to only use two of the layers today. You don’t have to use all three layers if you don’t want to) I used the Altenew Forest Glades ink to stamp the image.
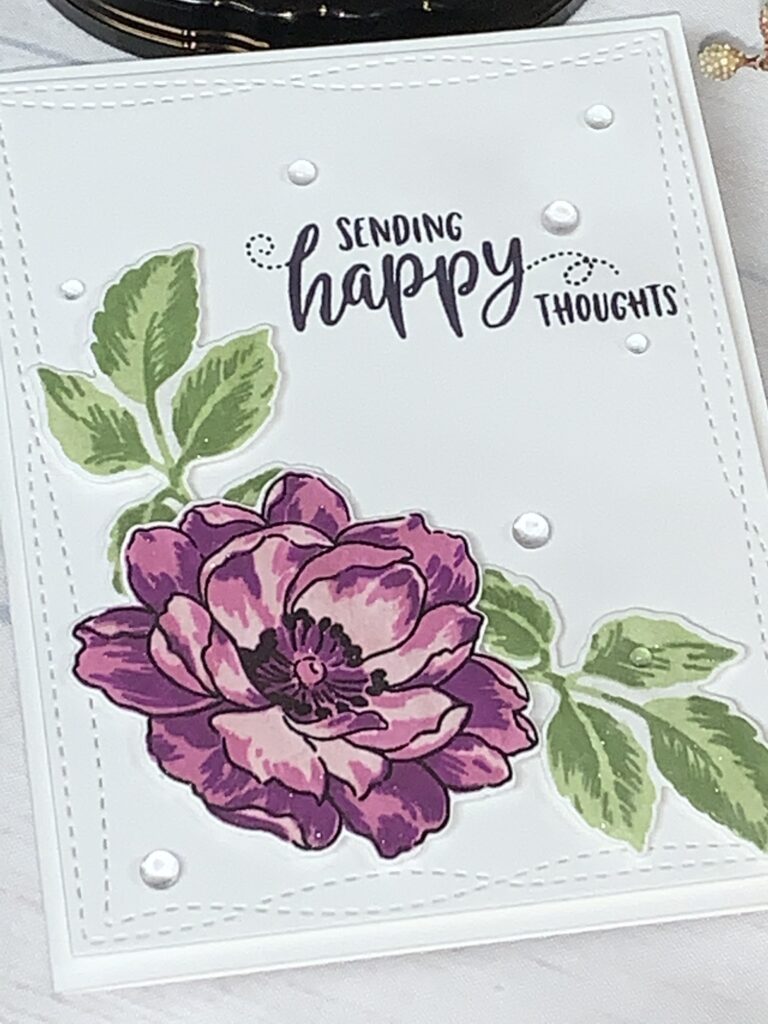
Now I’m going to use My Favorite Things Wonky Rectangle Die Set. I just recently got this die set and I LOVE IT. I think it adds such great detail to the card and I just LOVE the name of it. Every time I say the name it makes me want to SMILE and LAUGH. Let’s face it, I think all of us have a WONKY day once in a while…lol.
Anyway back to the card 🙂 I take a piece of Neenah Classic Crest Cardstock and cut it to 5 1/2″ x 4 1/4″ I take the biggest die from the set and I run it through my Gemini Jr die cut machine.
When I’m done I use my Sizzix Side Kick machine (make sure to push the lever down so it sticks to whatever surface you are working on) . I cut out all of my images so they fit in the sidekick. I love using my little sidekick for cutting out smaller images. I feel it goes a lot faster than putting smaller images in the big die cutting machines (but you can use any die cutting machine you have). You can also fit the flower and leaves on the die cutting plate at the same time if you want to save a little time.
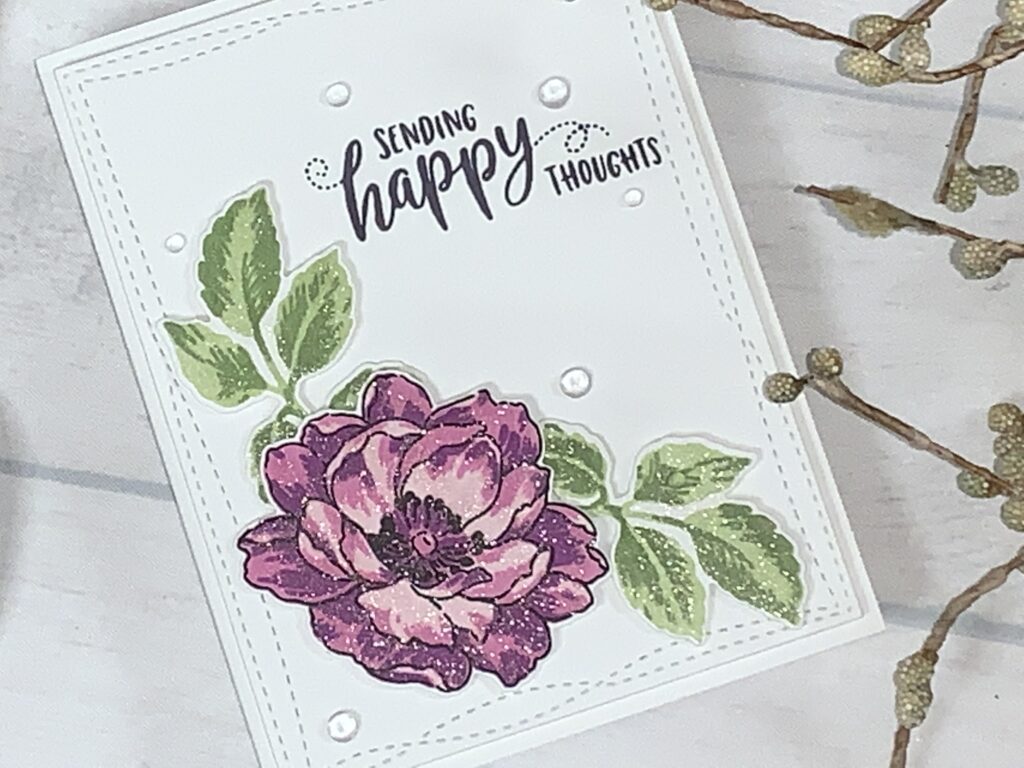
Once I die cut all of my images. I will stamp the “Sending Happy Thoughts” sentiment on to the card. I layout where I want my flowers to go on the card. I do this so I know exactly where I want to put the sentiment on the card. I chose to use the Altenew Dark Night ink instead of the Obsidian Black ink I usually use. This ink is a little softer looking which is the look I was going for .
Now for the fun part. I get to start assembling the card. This is my favorite part because I love seeing the final project 🙂
I will attach foam tape to the back of the flower and leaves. I also add a little glue to the back of the foam tape. This way if I need to move the images around a little bit they move much easier. When I’m done I will add a piece of 5″ x 3 3/4″ craft foam to the back of the panel. (no worries if you don’t have craft foam. You can just glue 3 pieces of cardstock together and attach it to the back of the card. It adds the same amount of dimension) Then I glue the panel to a piece of Neenah Classic Crest cardstock folded to 5 1/2″ x 4 1/4″.
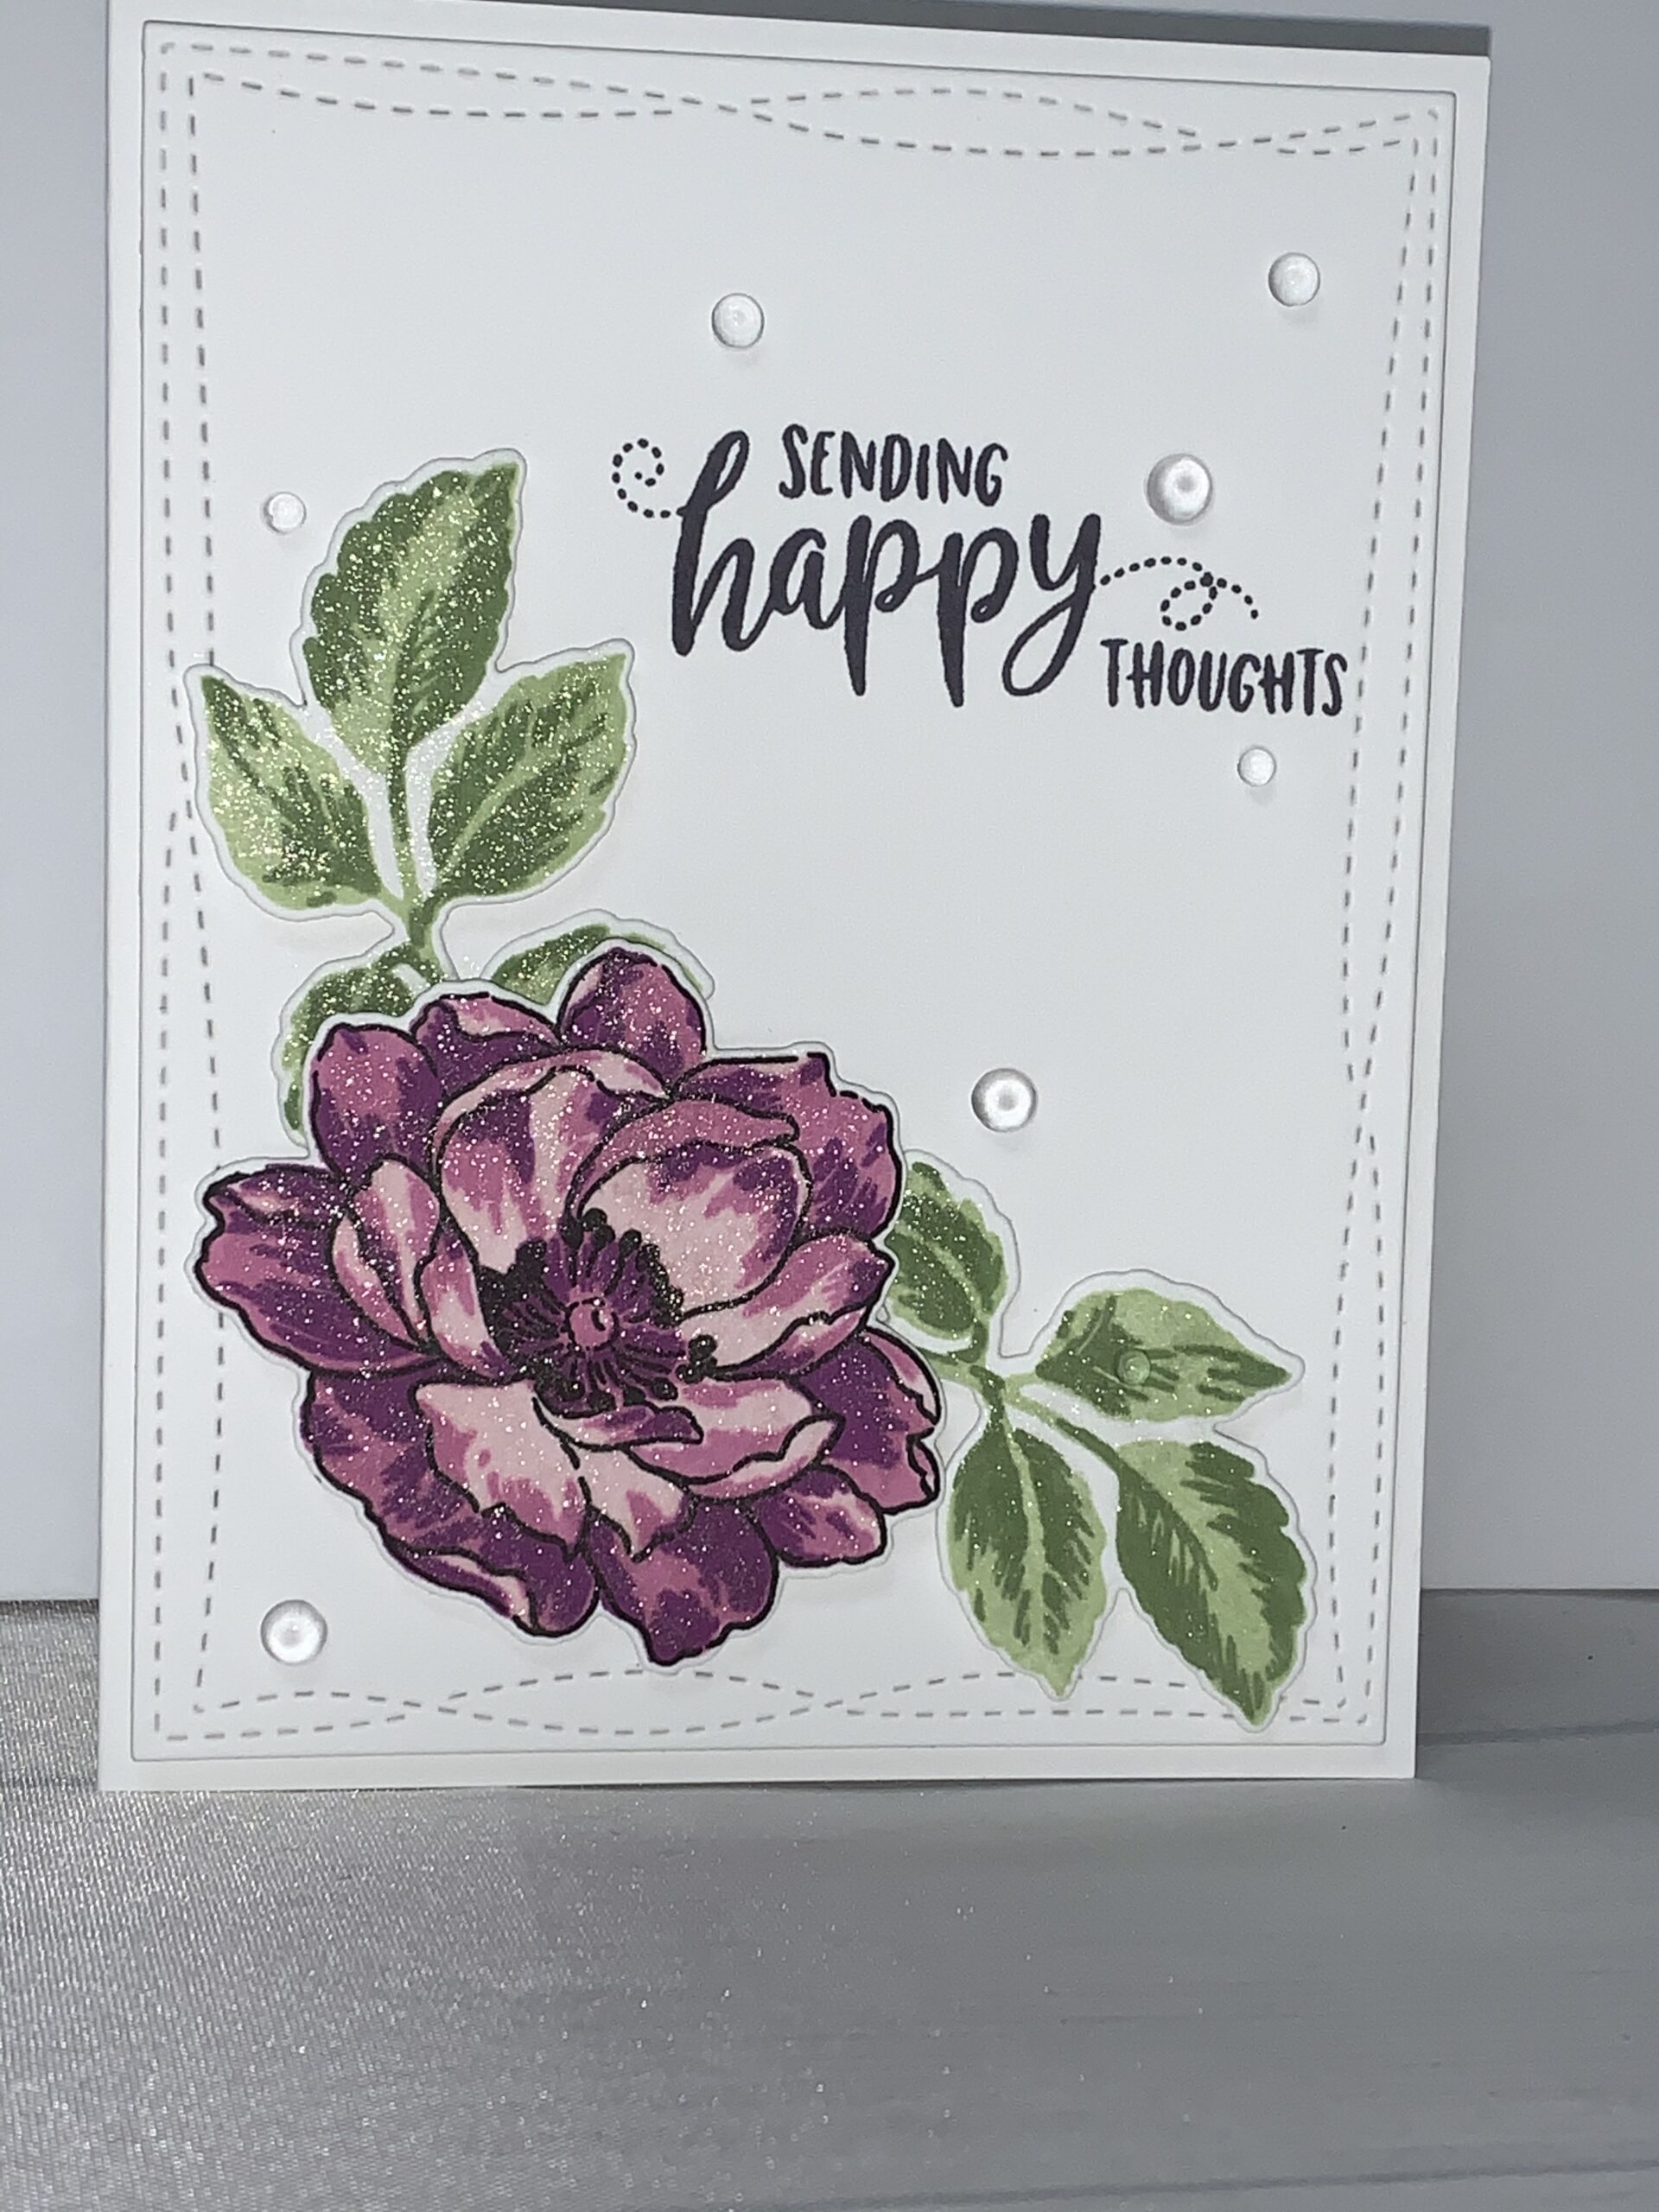
I ALWAYS like to add SPARKLE to my cards. I don’t know why. I just think it makes the whole card stand out. On this card I decided to use my Studio Katia Clear Drops. These are one of my FAVORITE gems. I think they look like tiny dew drops. I lay them out where I want them to go. Using my jewel picker (which I can’t live without when adhering gems. I’m like butterfingers and I just drop them every where..lol) I glue them to the card.
Okay, so after I put my gems on I decided I needed a little more excitement on the card. So I used my Wink of Stella pen (clear) to add some shimmer to the card. I think it really adds texture to the image and it gives the card a little extra added touch. You can see it in the last image the best. It looks much nicer in real life 🙂
So that will conclude my card for today. If you would like to see how I made the card please watch my Youtube video listed below.
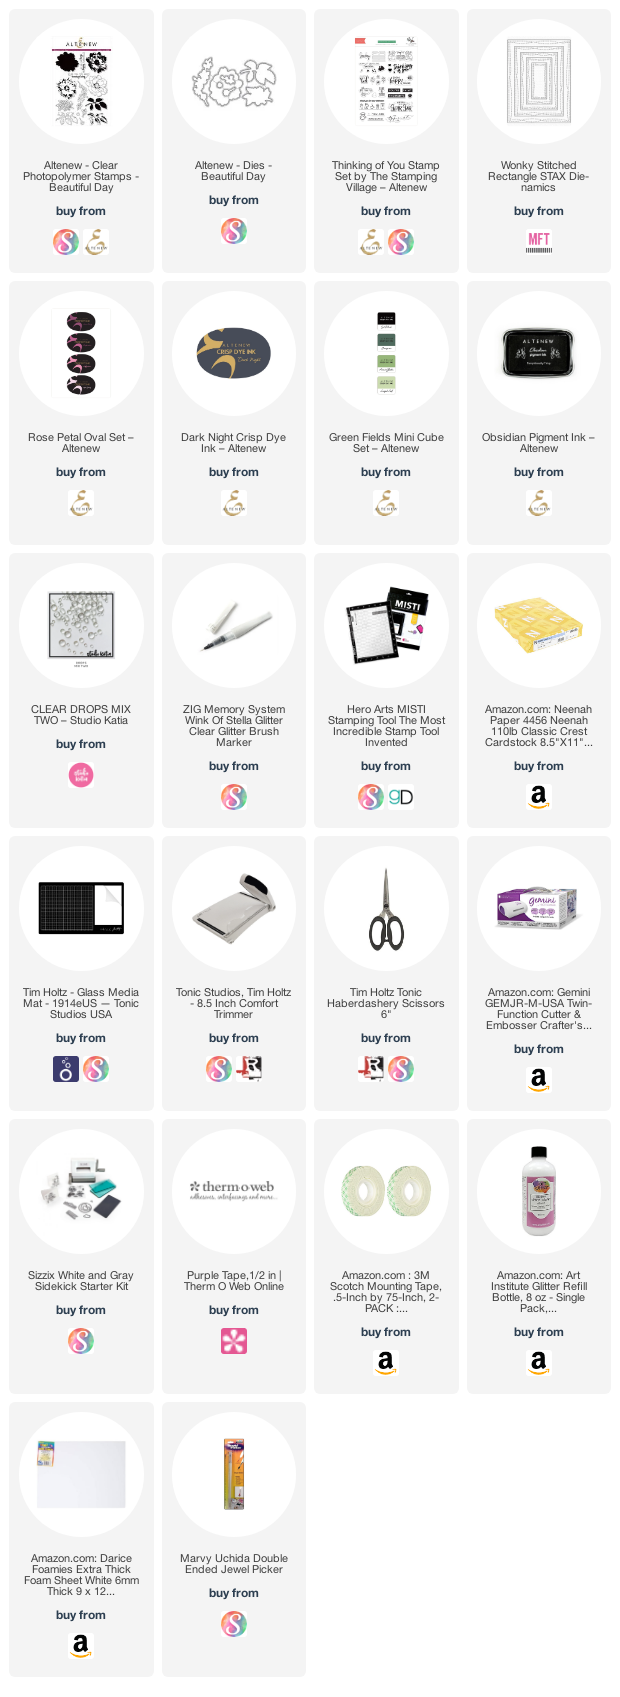
I have attached a list of the products I used to create this card if you’re interested.
Affliate Links may be used at No Charge to you. All items have been personally purchased by me. I do not work for any of these companies. I only recommend products I personally use and like. All opinions are my own.

A beautiful card with a detailed post, perfectly done Dawn!
Thank you!
Looks gorgeous! Love the sparkle! Great write-up too!
Thank you for entering your work to the AECP assignment gallery. Well done!
Thank you so much!