Hi Everyone,
I’m back with another class. If you’ve been following my journey, you know I’m taking classes at the Altenew Academy to earn my teaching certificate. I’m very excited to share with you what I’ve learned in my 7th class.
This class is called Celebration- Stencil Techniques and it was taught my the wonderfully talented Laurel Beard. Today I’m going to show you how to use paste with stencils to add texture to your cards.
So let’s get started.
I will be using the Nuvo Platinum Embellishment mousse and the Tim Hotlz distressed textured paste.
The stencil I am using is the Altenew Layered Medallion side B. It has a really nice floral pattern to it.
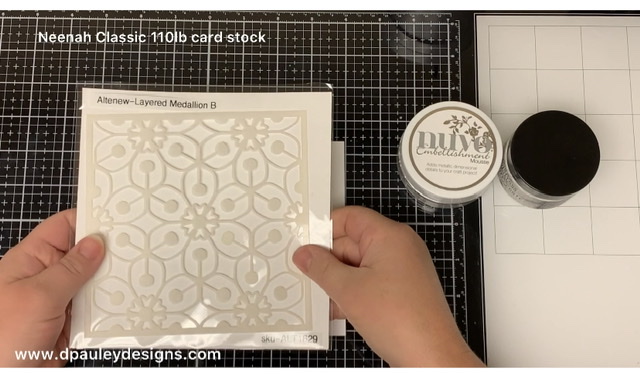
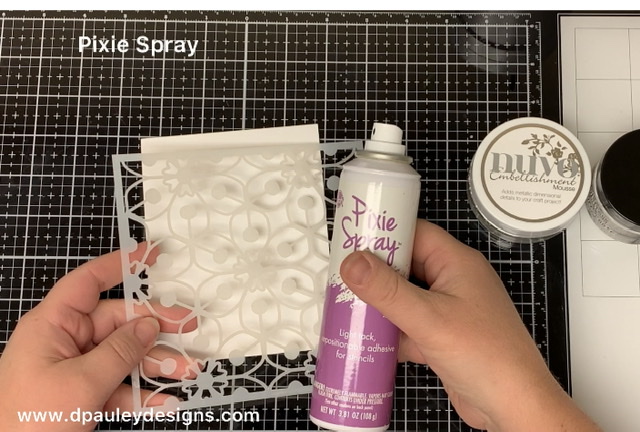
First I’m going to take some Pixie Spray and spray it on the back of the stencil. I let it dry for about a minute and then place it on a piece of Neenah Classic Crest 110lb cardstock.
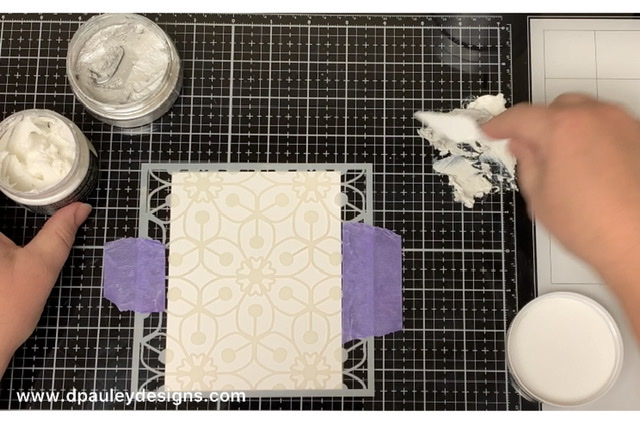
I use purple tape to hold it down just because I like the added security so it doesn’t move around. I mix the two pastes together because the platinum color is very bright and I didn’t want it to be such a deep platinum. So by combining the white textured paste and the platinum it toned the color down a little. I scoop a little bit of both pastes onto my Glass Media mat. Using my Spatula I mix the paste together until it is mixed thoroughly.
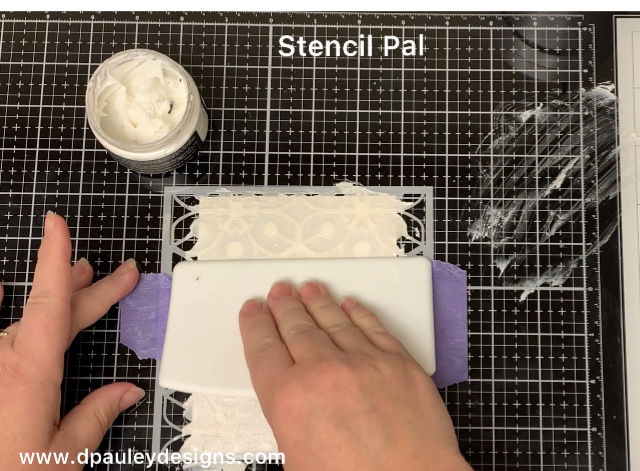
Once the paste is mixed, I use my spatula to spread it out onto the stencil. Making sure to spread in a downward motion.
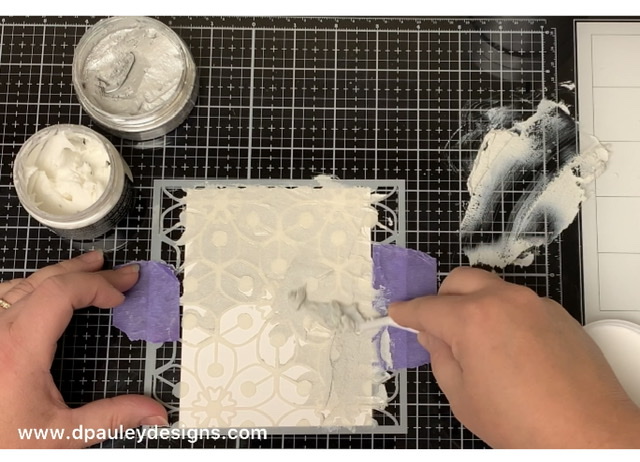
When it’s all spread out I use my Stencil pal to smooth it out. I run the stencil pal in a downward motion in one long movement. Then I take the purple tape off and very slowly pull up the stencil. I let this dry for about an hour or so.
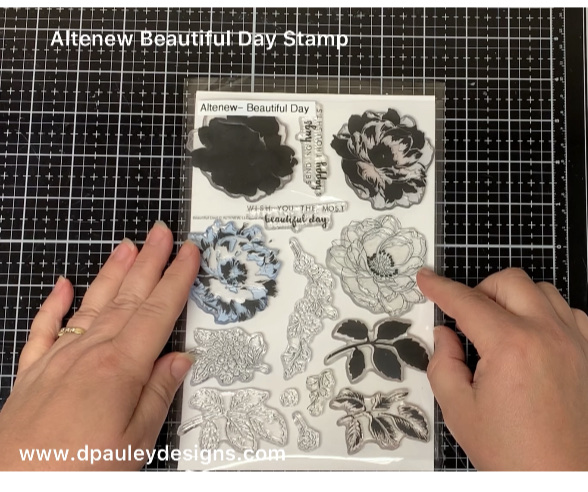
Next, I use the Altenew beautiful day stamp set to stamp the flower. This stamp set has 4 layers to it but I’m only going to use 3 layers today.
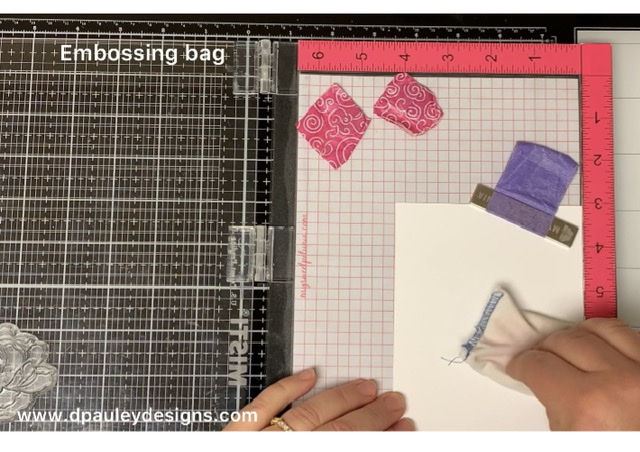
First, I’m going to emboss the outline image. I rub my card stock with my Embossing powder bag and stamp the image using my Versamark Ink.
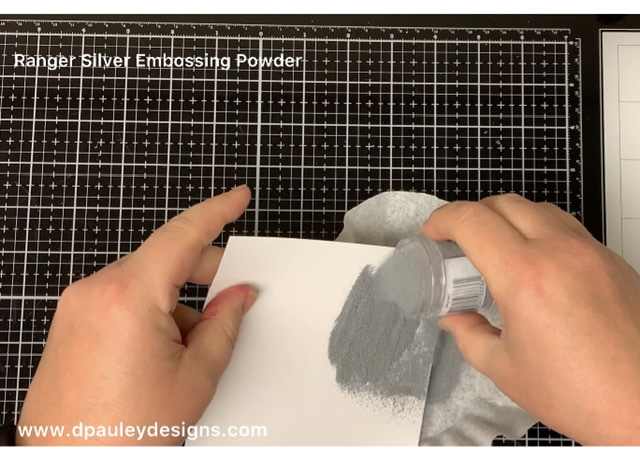
Then, using the Ranger silver embossing powder ,I pour it onto the flower. When my Heat tool is good and hot I heat emboss the flower.
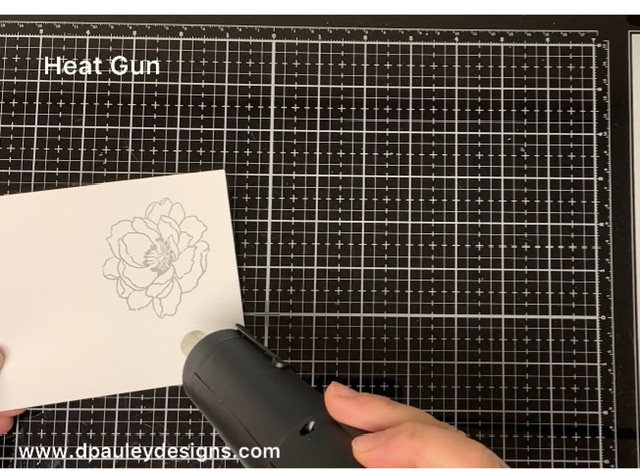
Using the Altenew Blush Ink I stamp the solid image onto the embossed image. I did double stamp the image to give it a good impression.
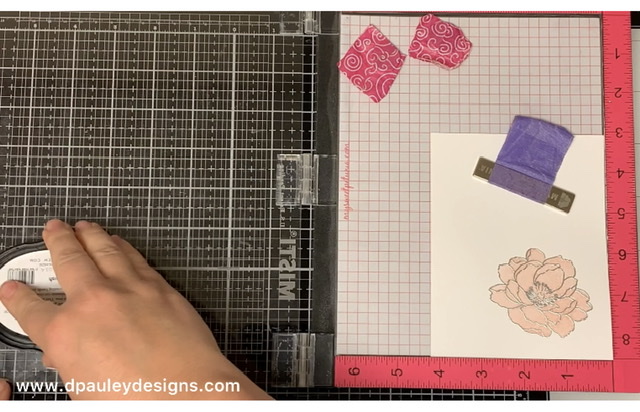
Next, I line up the second layer and stamp it with the Altenew Rouge ink.
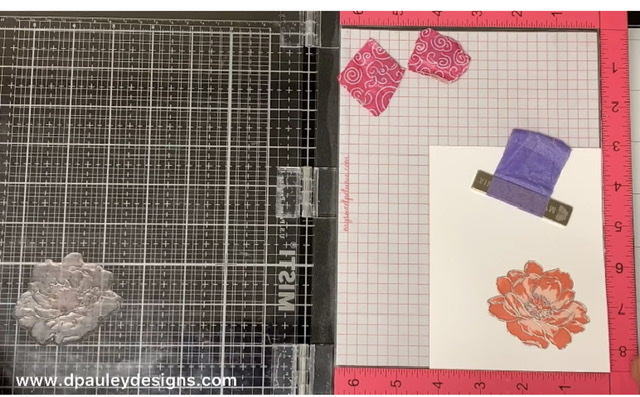
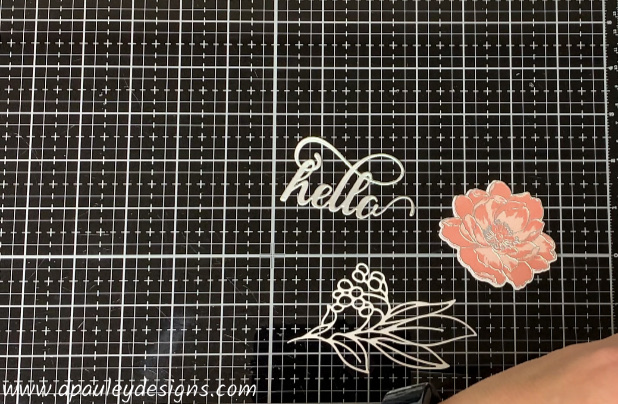
When I’m done, I cut out the Flower using my Gemini Jr machine. I also cut out some leaves using the Altenew Hanging Garden Die set. Then, using the Altenew Fancy Hello Die, I cut out One Hello sentiment with a Silver Metallic paper and two white Hello sentiments. I glue the 2 white hello sentiments together and then glue them to the back of the silver Hello sentiment. This will give it added dimension on the card.
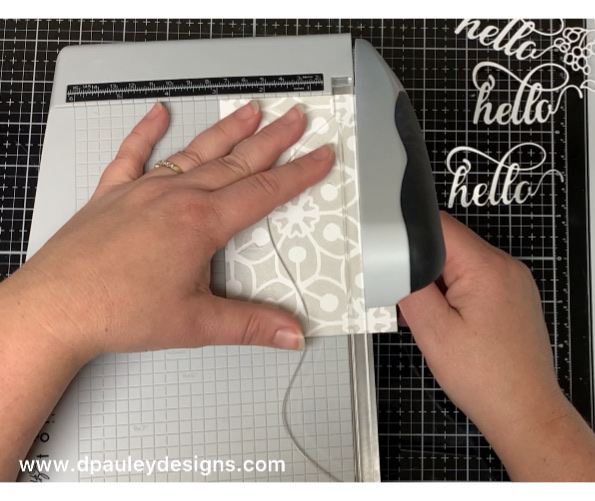
Next, I trim a ½” off the bottom of the stencil and then trim the rest of the stenciled panel down to 3” x 5 ¼”.
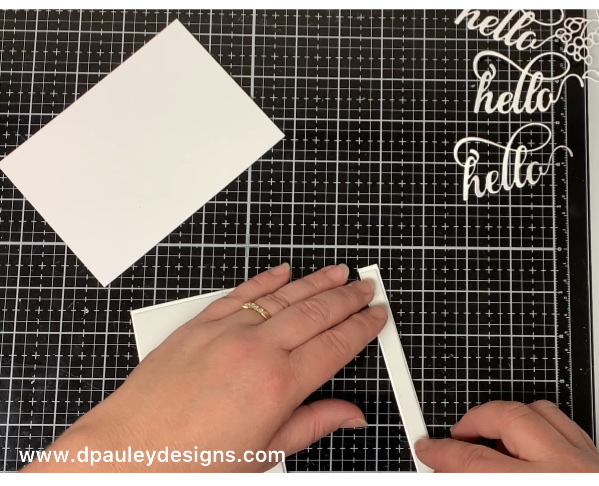
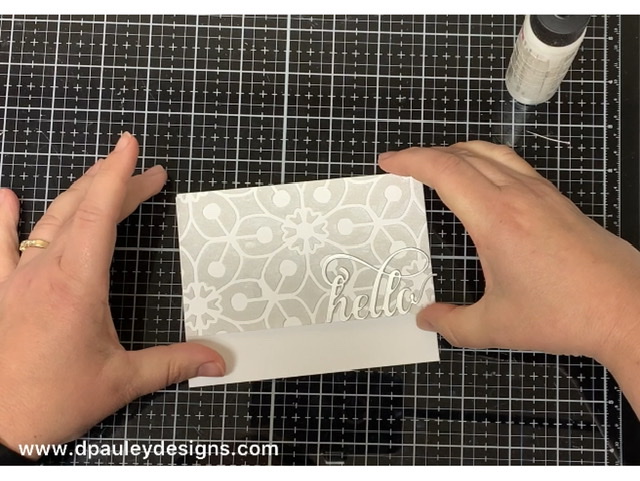
I glued a piece of craft foam that is a little smaller than the stenciled panel to the back of the panel to give it added dimension. I also glued a piece of craft foam to the back of the ½” strip panel. I glued the Hello sentiment to the front of the panel and then I glued the panel to a piece of card stock folded to 4” x 5 ¼”.
I used the sentiment “You are Beautiful” from the Altenew Paint a Flower Anemone. I put the panel in my Misti Stamping tool and lined the sentiment right under the hello die. Using the embossing powder bag i rub my card stock and then stamp it with the versamark ink. I used the ranger silver embossing powder and when my heat gun is good and hot I heat emboss the sentiment (Same steps as the pictures above).
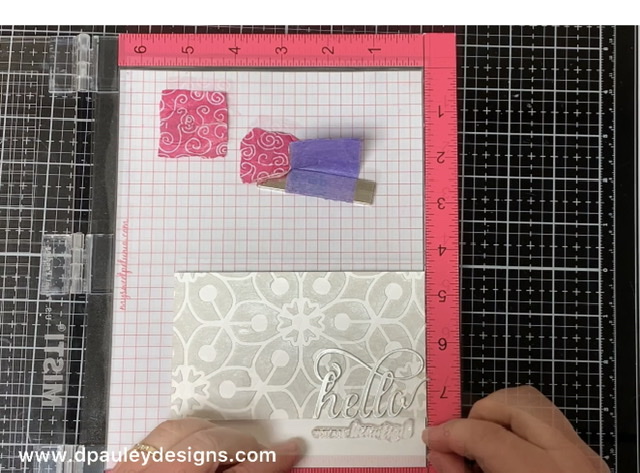
I glue the ½” panel strip to the bottom of the card.
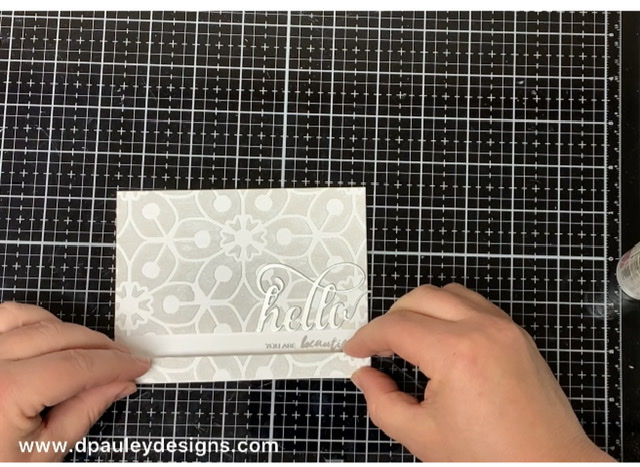
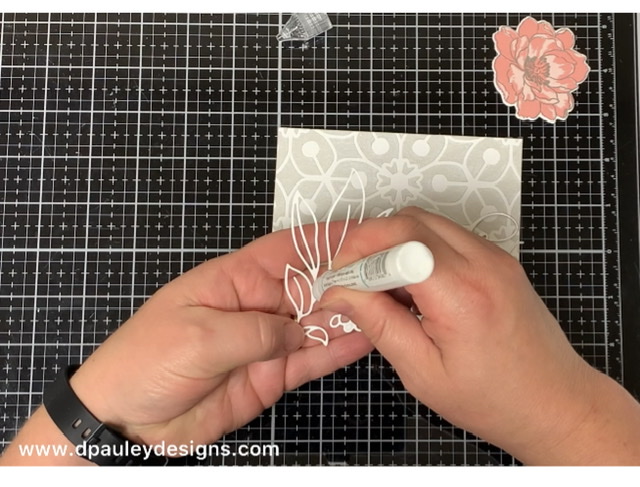
I line up the leaf die cut and the flower where I want them to go on the card. Then I use my Gina K connect glue to adhere the leaf panel to the card (I like to use the Gina K Connect glue for all my intricate die cuts). I glue the flower on the card.
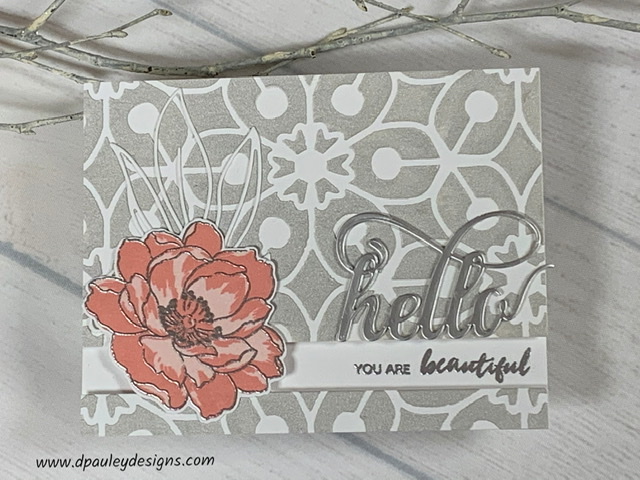
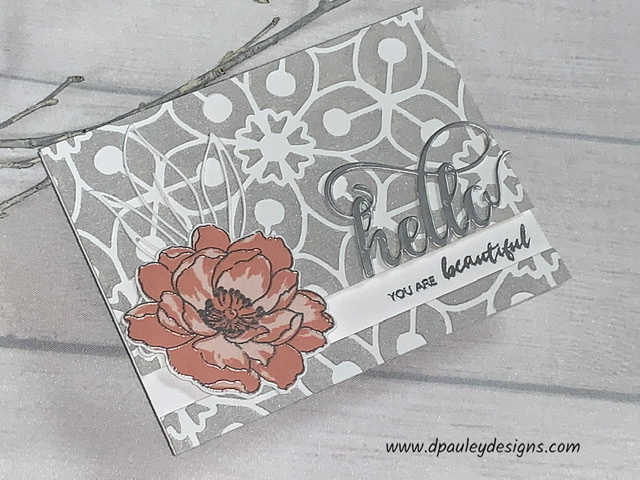
That completes my card for today. If you would like to see how I made the card, please watch my Youtube Video listed below.
I have attached a list of the products I used to create this card if you are interested.
Affiliate Links may be used at absolutely NO Charge to you. All items have been personally purchased by me. I do not work for any of these companies. I only recommend products I personally use and like. All opinions are my own. Proceeds I make off of the affiliates helps me to offset some of the cost to maintain my blog, Youtube channel and supplies needed to bring you new content.
Copyright: I am happy to share my creations with you. I don’t mind if you use them for your own personal use. If you decide to share what you’ve made online please link back to my Youtube Channel or Social Media post that inspired your design. While I love this and encourage it. It is NOT ok for someone to sell anything that was created by my design or to use my photos for any type of compensation. I appreciate your understanding in this.
D Pauley Designs is a participant in the Amazon Services LLC Associates Program, an affiliate advertising program. I may earn small commission off of your purchase.


Your video tutorial is fantastic! Thank you for sharing.
Thank you Teresa. I appreciate the feedback on my videos. It’s nice to know what people think about them🙂
Such a wonderful job, your videos are also improving so much!! 🙂 You are working very hard, Dawn!
The texture and the colours look great. Good idea to tone down the platinum a bit, for this particular card.
Thank you for entering your work into the AECP assignment gallery.
Thank you Erum. I appreciate the feedback especially on my videos. They are definitely a work in progress.