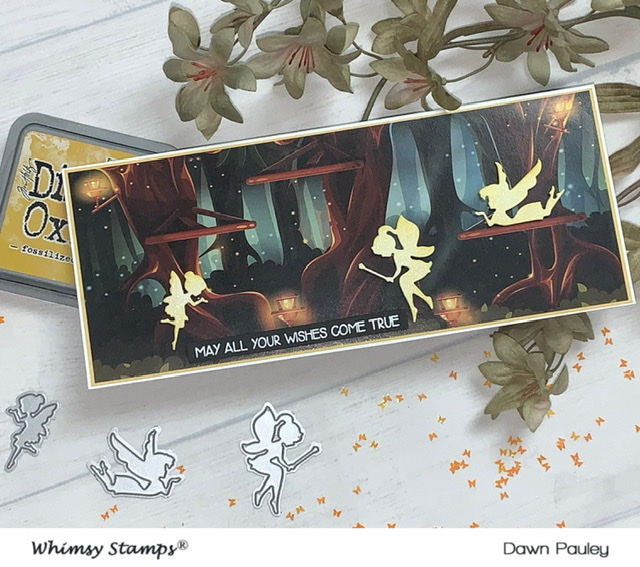
Hello Crafty Friends….. Today, I will be making this really cute Fairy card for you. This card is very easy to make when you need a quick birthday card. I will be using the Whimsy Stamps Build a Fairy Die set and the Whimsy Stamps Slimline Enchanted Forest Paper.
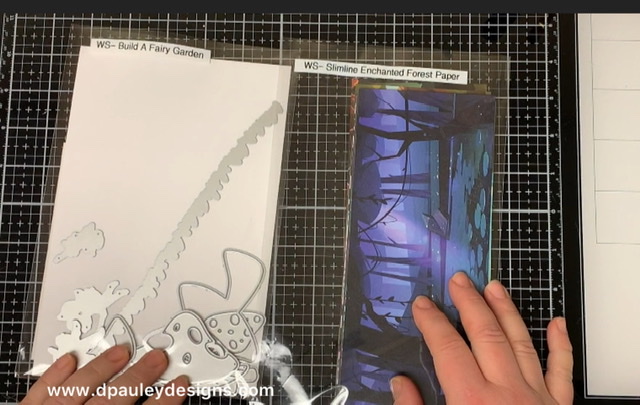
This paper pack comes with some really amazing backgrounds. You can use these backgrounds for so many different types of cards and so many different characters not just the fairies. I will be using the background with the trees and lights. I thought it was perfect for a fairy card.
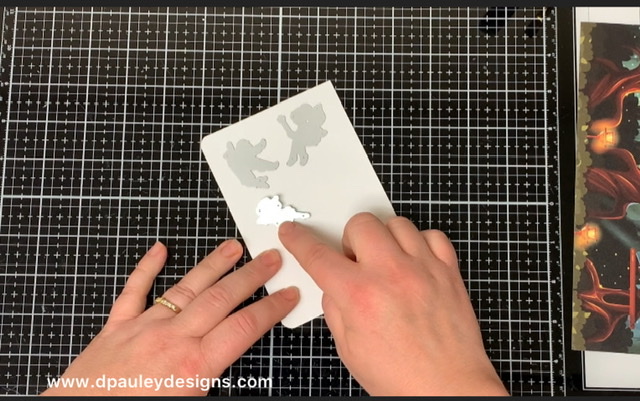
I’m only used the 3 fairies from the Build a Fairy Garden Set. I die cut the fairies out from white card stock.
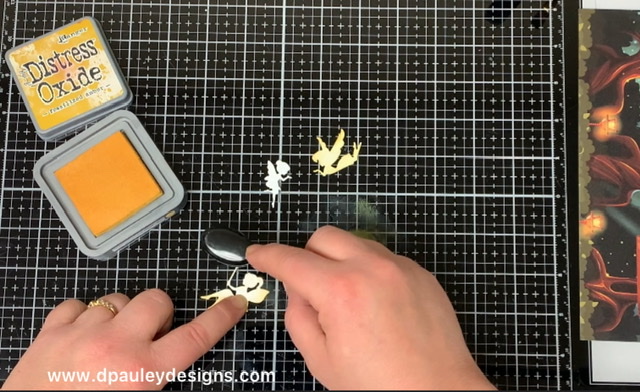
Using, Distress Oxide Fossilized Amber ink and an ink blending brush, I color the fairies in. Be careful, because if you go too hard you could bend the fairies. I chose to do it this way because I wanted the edges of the fairies to be darker than the center, but if you wanted an easier way, you could ink blend a piece of card stock first and then die cut the fairies out.
Next, I take my Enchanted Forest background and I cut a ¼” off of the right side of the paper. I cut ⅛” off of the top of the paper and ⅛” off the bottom of the paper. This will leave the paper balanced.
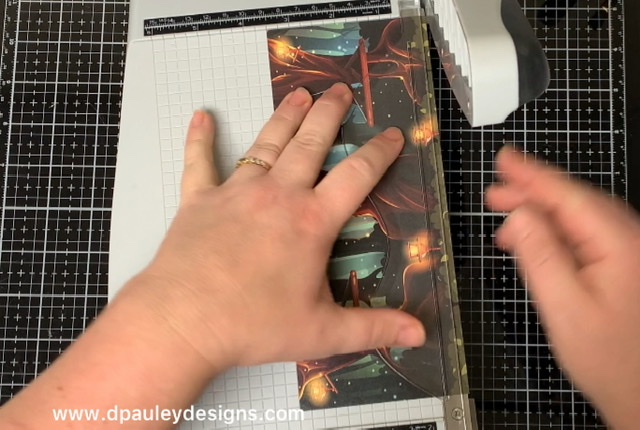
Next, I cut out a Yellow background border to 3 ⅜” x 8 5/16” and a piece of white card stock cut to 8 ½” x 7 “ and scored at 3 ½”
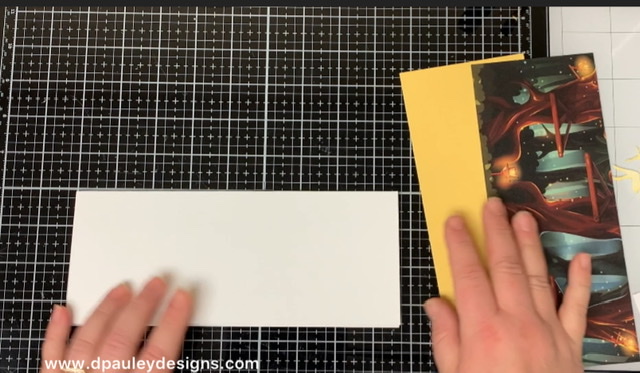
Then, I adhere the enchanted forest paper to the yellow card stock and the I adhere that panel to the white card stock.
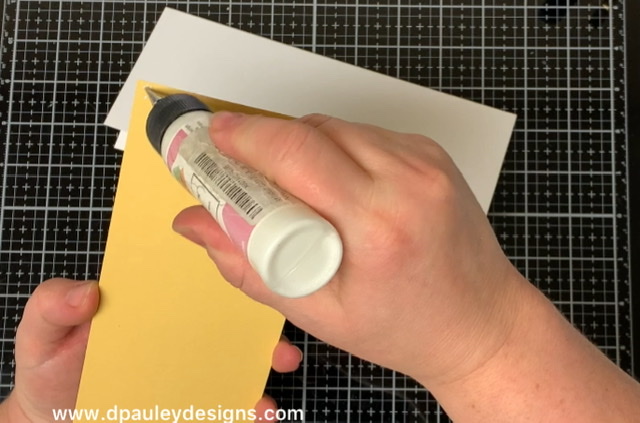
Using the Whimsy Stamps Simple Sentiment Strip “May all your wishes come true”, I heat emboss it onto a piece of black card stock. I prep my paper with the embossing bag.
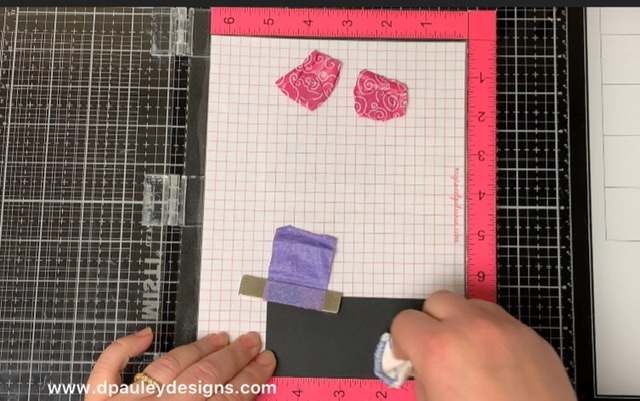
Then, I stamp the image with versamark ink and I put ranger white embossing powder on it.
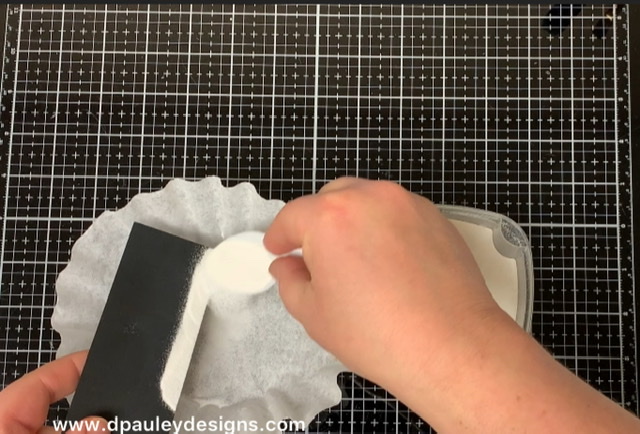
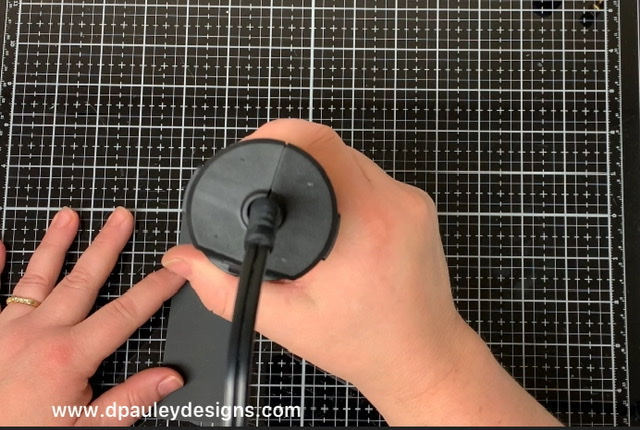
When my heat tool is good and hot, I heat emboss the sentiment. I like to lay my paper down flat on my glass media mat to help prevent warping.
I trim the sentiment down and then I start to assemble the card. I put foam tape on the back of the sentiment and adhere it to the card. Then, I put foam tape on the back of the fairies and I adhere them where I want them to go on the card. I wanted two of the fairies to be facing the sentiment and the other one laying down.
I always like to add some shine to my cards, so I put some wink of Stella on the fairies to make them look like they are sparkling.
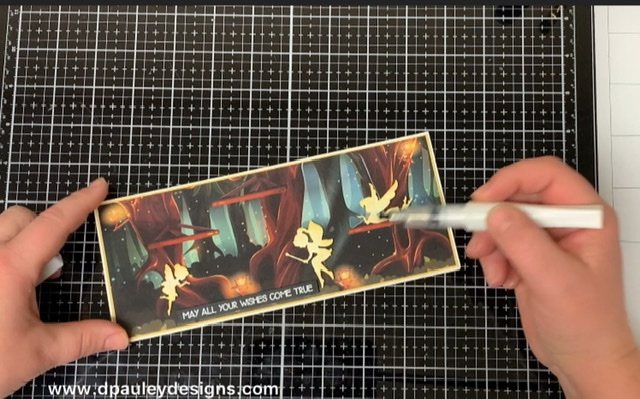
That completes my card for today. I’m on the Whimsy Stamps YouTube channel if you would like to see the video to make this card.
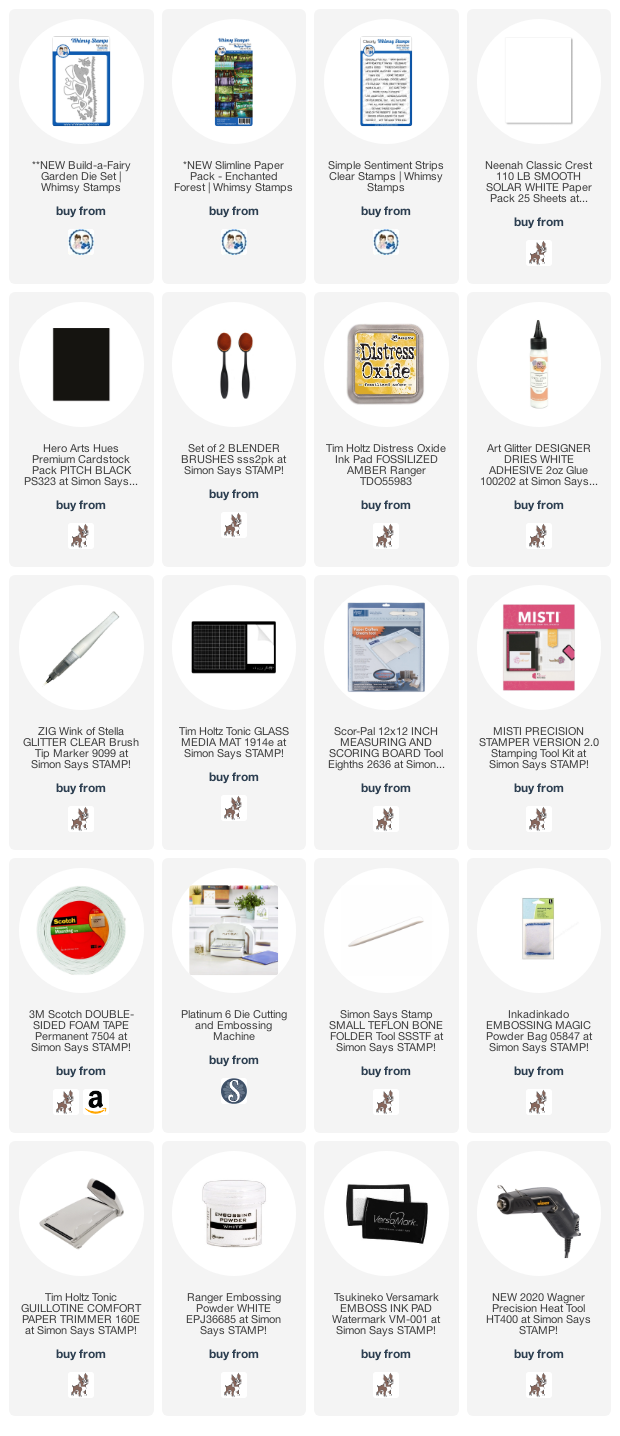
I have attached a list of the products I used to create this card if you are interested.
Affiliate Links may be used at absolutely NO Charge to you. All items have been personally purchased by me except for the Whimsy Stamp products which are supplied for being on their Design Team. I do not work for any of these companies. Whether gifted or products I bought, I only recommend products I personally use and like. All opinions are my own. Proceeds I make off of the affiliates helps me to offset some of the cost to maintain my blog, Youtube channel and supplies needed to bring you new content.
Copyright: I am happy to share my creations with you. I don’t mind if you use them for your own personal use. If you decide to share what you’ve made online, please link back to my Youtube Channel or Social Media post that inspired your design. While I love this and encourage it. It is NOT ok for someone to sell anything that was created by my design or to use my photos for any type of compensation. I appreciate your understanding in this.
D Pauley Designs is a participant in the Amazon Services LLC Associates Program, an affiliate advertising program. I may earn small commission off of your purchase.

