Gift Card Box
Have you ever needed to give a last minute gift card and dread buying gift card boxes for $5 or more at the store. If so, this little gift card box is the answer for you. This gift card box is so quick and simple to make. It only takes about 15 minutes to make one once you get the hang of it. I have whipped these boxes up right before I’m ready to give them. (though I don’t recommend this..lol)
However, I do recommend making a few of them and keeping them on hand. Not only do they fit gift cards but if you take the inside of the box out you can put small treats in them or line them with wax paper and put homemade fudge in them… yummy!
So let’s get started on the Gift Box!
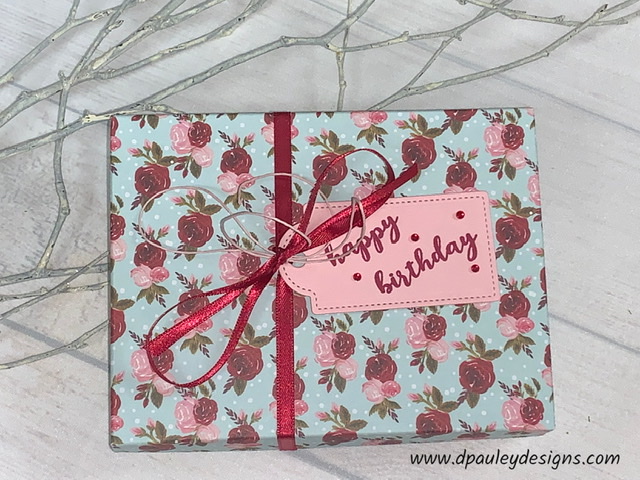
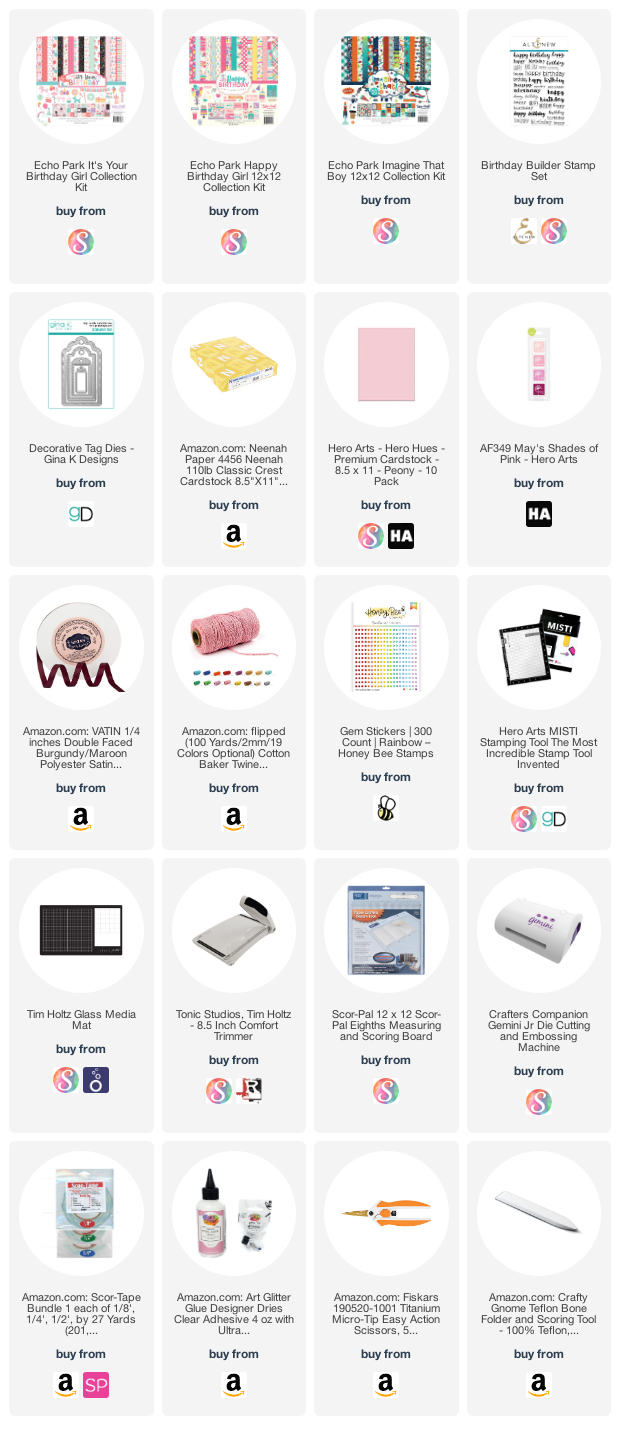
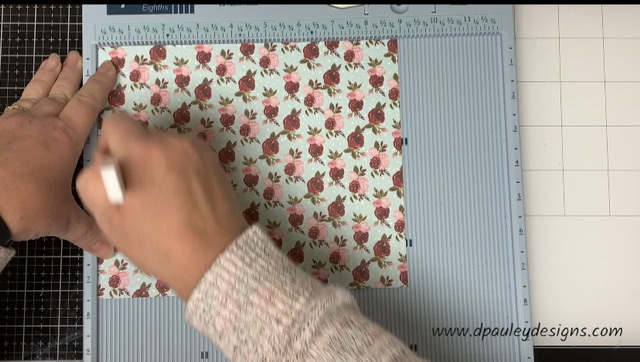
First I take a piece of decorative paper (any decorative paper you like, I used old paper I had but I linked to some fun birthday paper) and cut it to 7 3/8″ x 8 7/8″ for the top of the box. I take a piece of Neenah Classic Crest 110Lb card stock and cut it to 8 1/2″ x 10″ for the bottom of the box and a piece of Neenah classic crest 110lb card stock and cut it to 5 5/8″ x 7 1/8″ for the inside of box. Using my Scor Pal, I score the following lines.
Decorative Paper – Top – 7 3/8″ x 8 7/8″ – Score the 7 3/8″ side of the paper with the following score lines 5/8″, 1 3/8″, 6″ and 6 3/4″. Score the 8 7/8″ side of the paper with the following score lines 5/8″, 1 3/8″, 7 1/2″ and 8 1/4″.
White Paper – Bottom – 8 1/2″ x 10″ – Score all around the paper at 7/8″ and at 2 ” on all four sides of the paper.
White paper – Inside of Box – 5 5/8″ x 7 1/8″ – Score at 5/8″ all around the paper on all four sides.
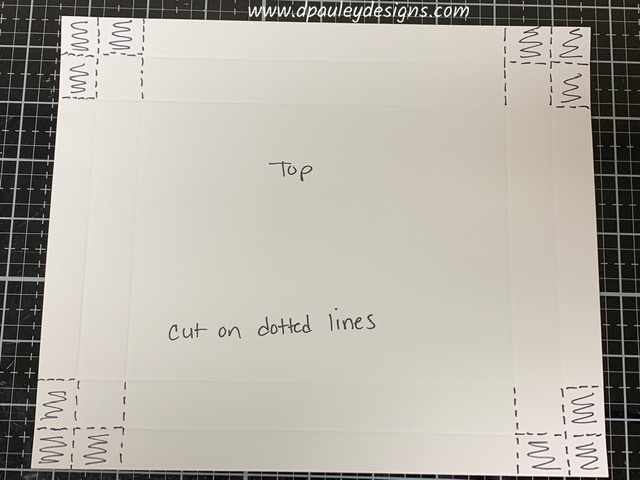
Once you score all the sides of the papers, you will need to cut off all the excess that you don’t need. I have added photos showing where you need to cut. Only cut on the dotted lines (shown) and discard the areas I’ve shaded off.
Top of Box
Bottom of Box
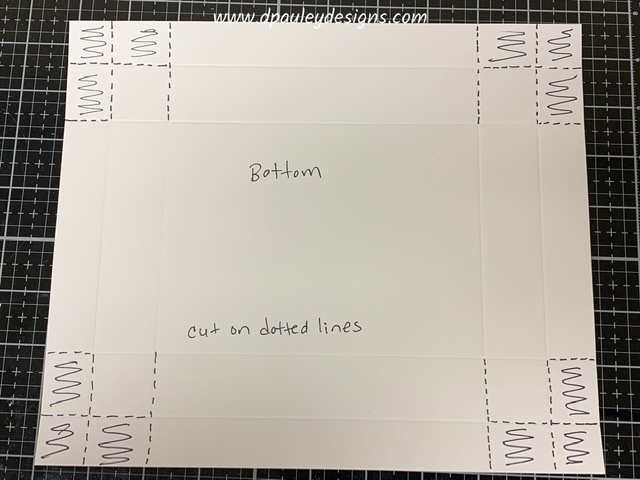
Now that you have cut the excess off, you will need to notch all of the straight edges around the whole paper (see picture below). The bottom right hand corner is notched already. Cut along all the black lines. They don’t need to be big notches. just enough so the ends all fold in nicely! Do this for the Top and Bottom of the box.
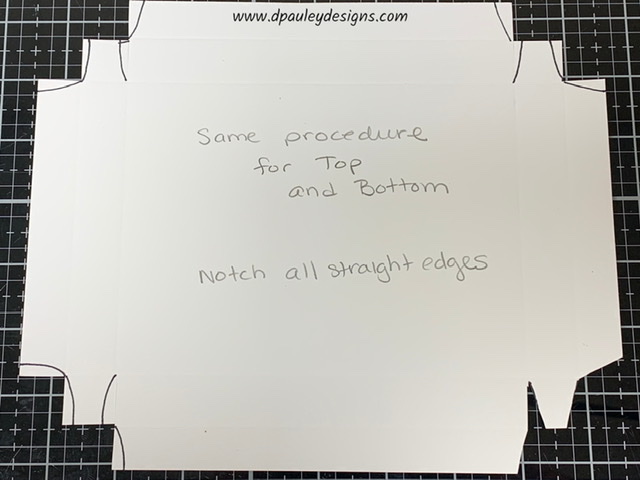
Once you have notched all the edges, you need to fold and burnish all the lines. You can use a bone folder to do this. (just be careful burnishing the decorative paper. Sometimes, if you crease the paper to hard the paper will split a little). Do this for the Top and Bottom of the box.
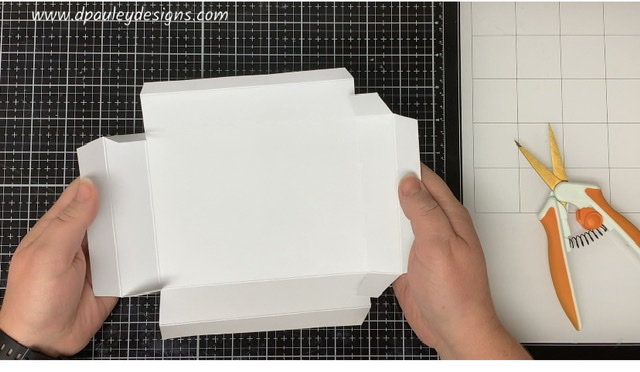
Ok…. Now it’s time to assemble the box. Using my Art Glitter Glue, I put glue on the outside of all the tabs and fold them into the sides of the box. (if you need more of a visual aspect then these pictures, check out my YouTube video!) Repeat for all 4 sides.
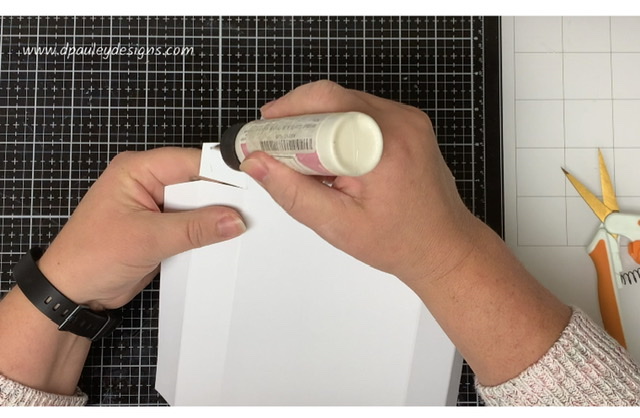
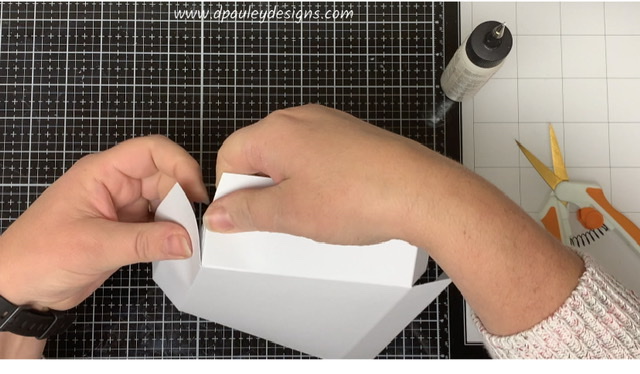
Now you add glue to the side tabs and fold them down to the inside of the box. Do this for the Top of the box and the Bottom of the Box (Check out my Youtube video for tips on how to make the sides of the box and the bottom more sturdier. This is and extra step but not necessary if using heavy weight card stock.)
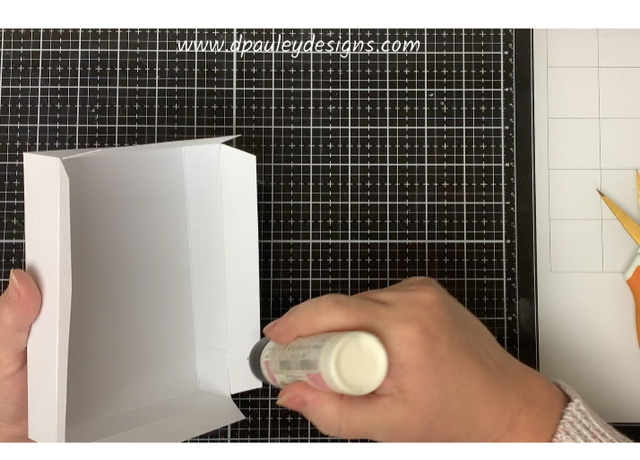
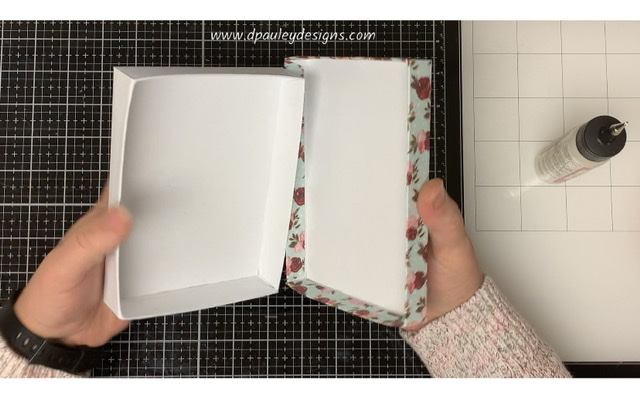
For the Inside of the box. Cut along the dotted lines as shown in the picture below.
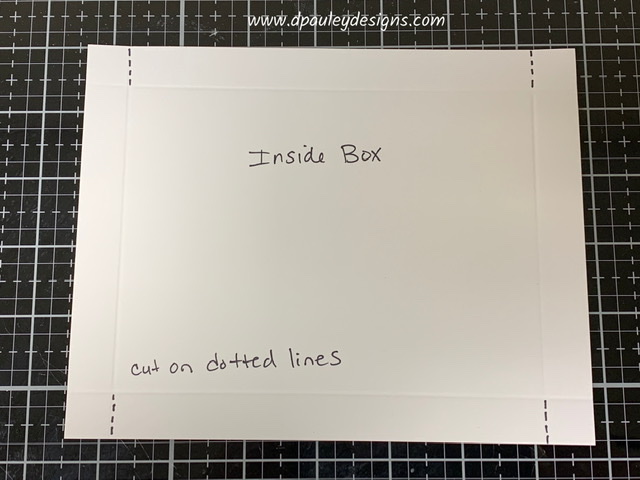
Then Notch all the tabs (as shown in picture below) and Fold and Burnish all the score lines.
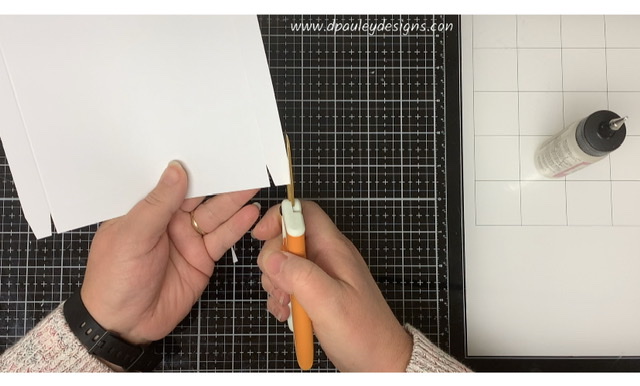
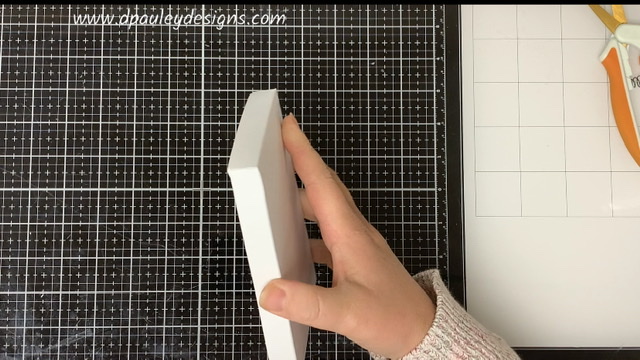
Glue the tabs to the side panels the same way you did the top and bottom of the box. ( The inside of the box does not have side panels that fold down)
Now using the Gina K tag dies and a piece of Hero Arts Peony card stock I run the die through my Gemini Jr. Then using the Misti stamping tool, I stamp Happy Birthday onto the tag with the Altenew Birthday Builder set and the Hero Arts Strawberry Jam Ink.
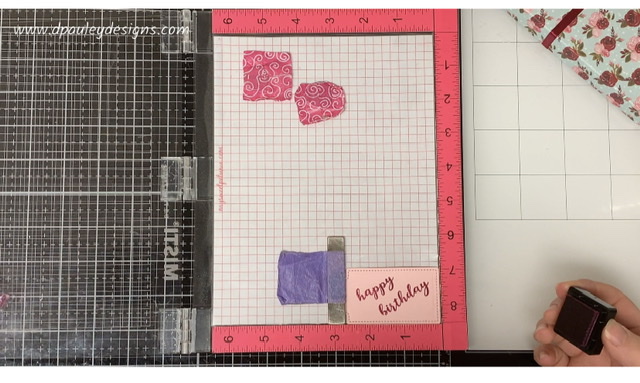
Let’s decorate the box!
Using 1/8″ Scor tape put 2 pieces across the middle of the box. Leaving a space in the middle of the box to thread the ribbon through.
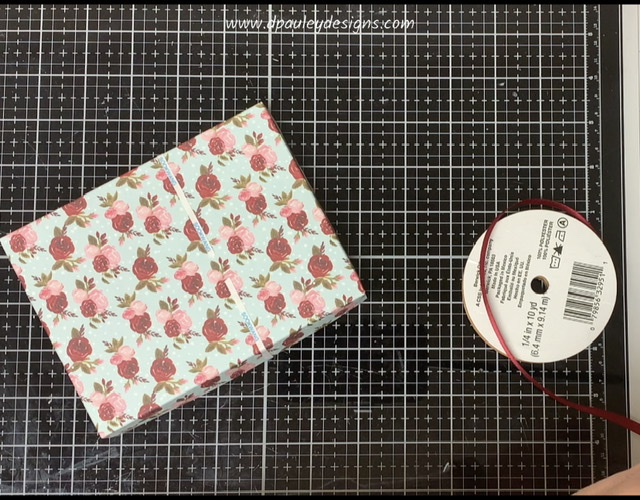
I then attach the Burgundy Ribbon onto the scor tape.
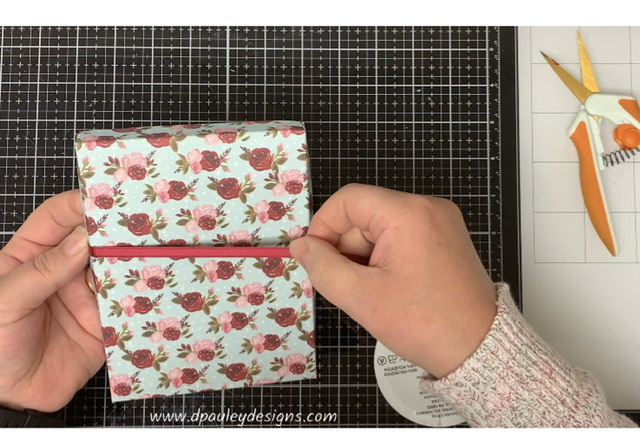
Next take a piece of Burgundy Ribbon that measures 12 inches and thread it under the middle of the ribbon as shown below.
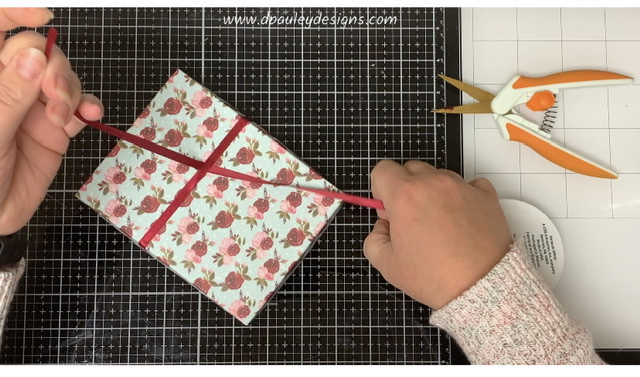
I put the tag on the Burgundy Ribbon and I thread also a piece of Pink Twine in with the ribbon. I tie them both into a bow.
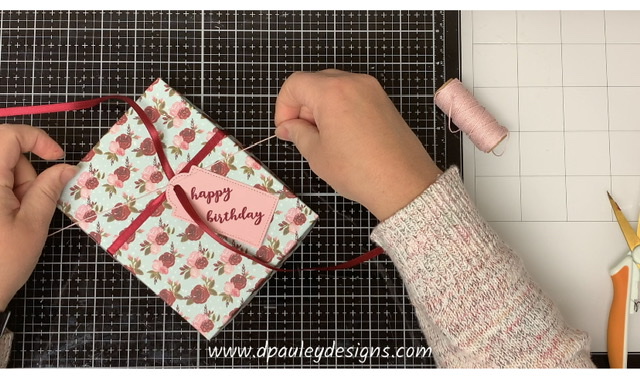
Next I add Honey Bee Stamp gems to the tag but you can leave it plain if you want to.
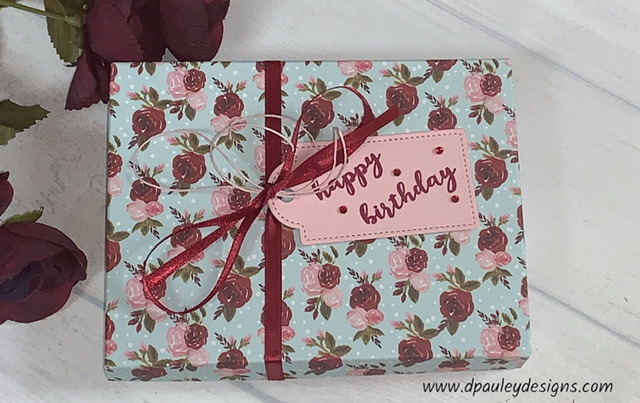
That completes my Box for today. If you would like to see how I made the box, please watch my Youtube Video listed below.
I have attached a list of the products I used to create this card if you are interested.
Affiliate Links may be used at absolutely NO Charge to you. All items have been personally purchased by me. I do not work for any of these companies. I only recommend products I personally use and like. All opinions are my own. Proceeds I make off of the affiliates helps me to offset some of the cost to maintain my blog, Youtube channel and supplies needed to bring you new content.
Copyright: I am happy to share my creations with you. I don’t mind if you use them for your own personal use. If you decide to share what you’ve made online please link back to my Youtube Channel or Social Media post that inspired your design. While I love this and encourage it. It is NOT ok for someone to sell anything that was created by my design or to use my photos for any type of compensation. I appreciate your understanding in this.
D Pauley Designs is a participant in the Amazon Services LLC Associates Program, an affiliate advertising program. I may earn small commission off of your purchase.

