Hello Fellow Crafty Peeps…..Today I will be showing you how to use 6 x 6 paper on a slimline card with the “NEW” 6 x 6 Pattern Paper just release from Whimsy Stamps.
So let’s get started.
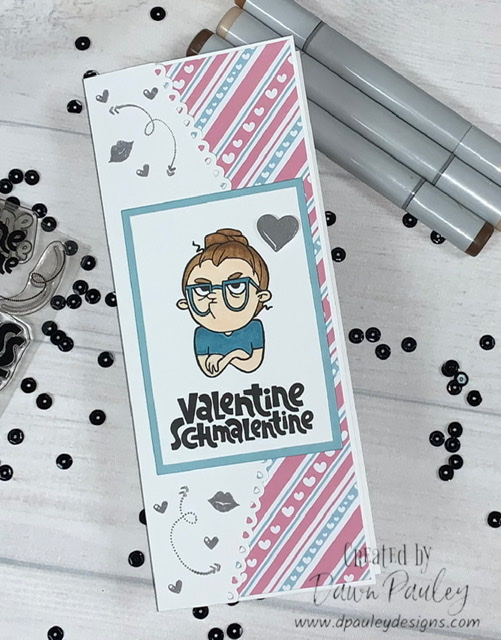
First I cut the 6 x 6 paper in half at the 3” mark. Then I line up the two pieces of paper so the pattern looks like a continuous piece of paper. I cut one of the papers down to 3” x 5 ¼” and the other one to 3” x 3 ⅛”.
Next, I glue the two pieces of paper onto a slimline card that is cut to 8 ½” x 7” and I scored it at 3 ½”. When I glue the pattern paper onto the slimline card, I glue it all the way to the right leaving a small border on the right hand side and a bigger border on the left side. This is because the left border is going to get covered up anyway and you won’t see it.
I’m using the New Slimline Envelope Border die that just got released on Sunday. I’m chose the border that cuts out small hearts. I center it onto a piece of white card stock and use a ruler to make sure it’s centered equally on both sides of the paper. I run it through my die cut machine and adhere it to the front of the card.
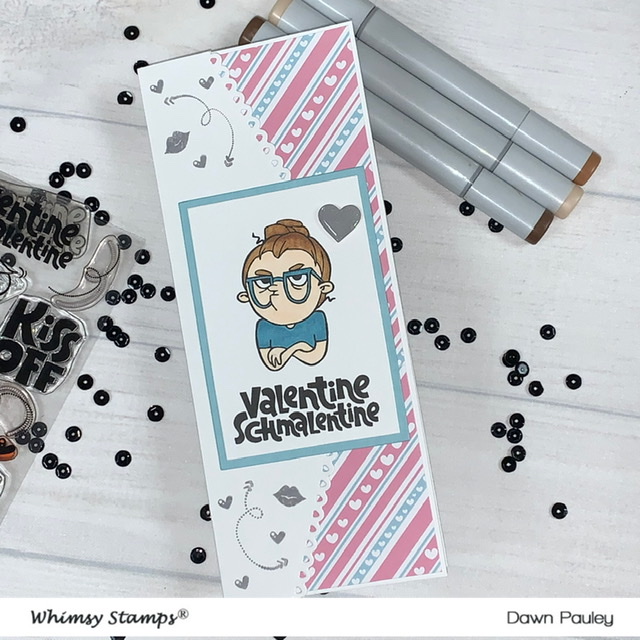
I used the adorable “New” Nope stamp set that just got released on Sunday. Who can resist the face on her. It’s such a cute stamp set. I paired it up with the “New” Kiss off stamp set that came out on Jan 1.
Using my misti, I line the stamps up where I want them to go on the paper and I stamped it with Gina K black ink that is copic marker friendly.
I colored in the character using my copic markers. I used copic marker E00 (cotton pearl) for the skin tone. I used copic markers E25 (caribe cocoa), E35 (chamois) and E00 (cotton pearl) on the hair. I ended up using a different alcohol marker for the shirt because I didn’t have the color I was looking for in my copic markers. So I used Altenew B313 (Dusk)
When I finished with the coloring, I used a rectangle die to cut out the character with the sentiment. I also cut out a slightly bigger rectangle of some Hero Arts Mist color paper. I adhere the character paper to the Mist color paper.
Then I adhere my character paper to the front of the card and by doing this it will cover up the line where two pieces of paper meet.
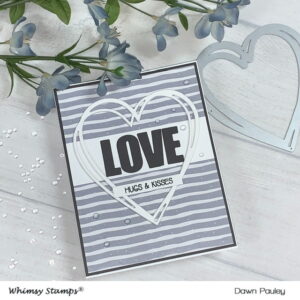
Next, I used the Kiss Off stamp set to add some detail to the card. I decorated the card with the wonky cupid’s arrows and put small hearts and lips randomly on the paper.
I originally stamped a pink heart next to the characters head but then decided I didn’t like it. So I had to try and find a way to fix it rather than starting over.
That’s when I came up with the idea to color a piece of white card stock with the same color grey ink I used for the arrows and the hearts. Then I took a small heart die and die cut the heart out. I added a piece of foam tape to the back of the heart and stick it on the card. I checked to make sure you couldn’t see any of the pink and it worked perfectly. I was so happy to not have to start all over from the beginning for one small mistake!
I decided I wanted to add some shine to the heart, so I added some Nuvo Crystal clear drops to it.
That completes my card for today. Check out my video on the Whimsy Stamps YouTube Channel.
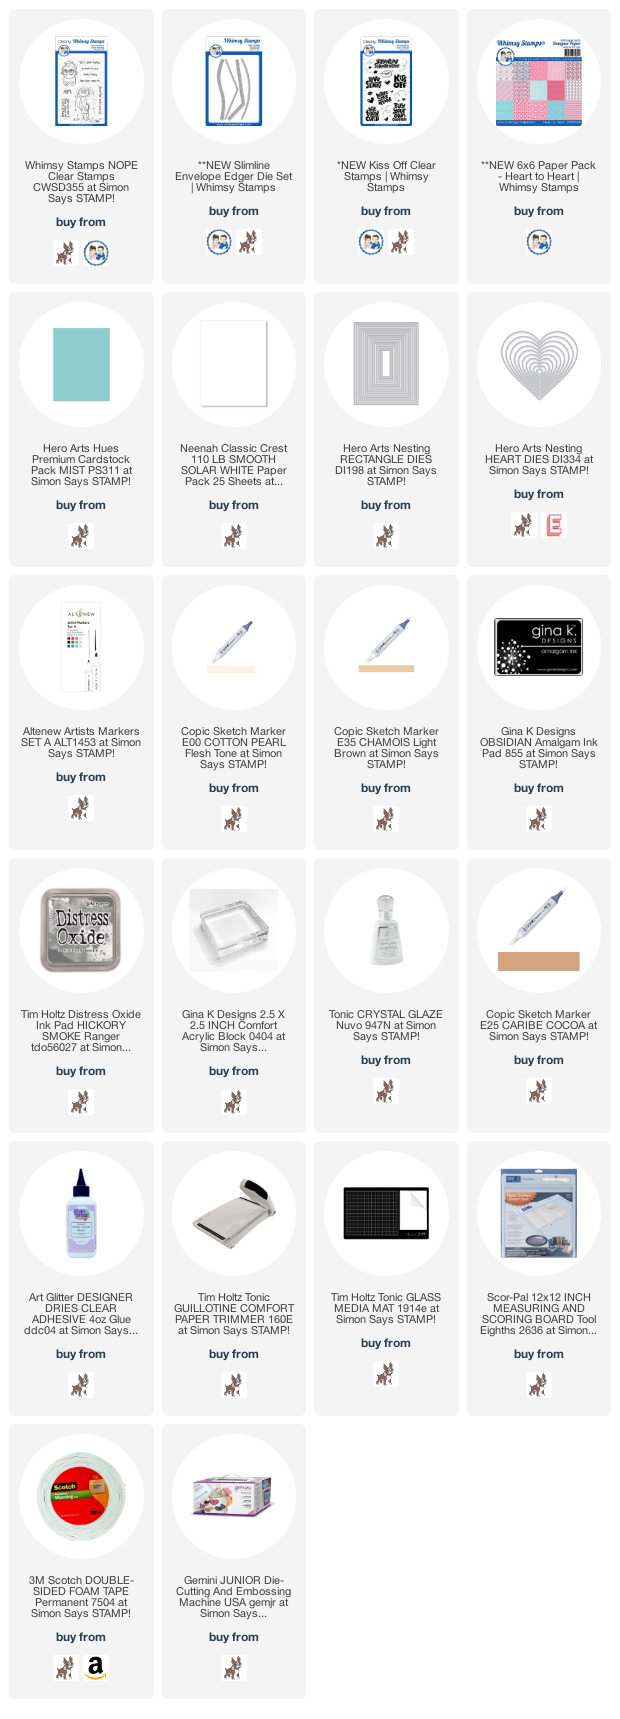
I have attached a list of the products I used to create this card if you are interested.
Affiliate Links may be used at absolutely NO Charge to you. All items have been personally purchased by me except for the Whimsy Stamp products which are supplied for being on their Design Team. I do not work for any of these companies. Whether gifted or products I bought, I only recommend products I personally use and like. All opinions are my own. Proceeds I make off of the affiliates helps me to offset some of the cost to maintain my blog, Youtube channel and supplies needed to bring you new content.
Copyright: I am happy to share my creations with you. I don’t mind if you use them for your own personal use. If you decide to share what you’ve made online, please link back to my Youtube Channel or Social Media post that inspired your design. While I love this and encourage it. It is NOT ok for someone to sell anything that was created by my design or to use my photos for any type of compensation. I appreciate your understanding in this.
D Pauley Designs is a participant in the Amazon Services LLC Associates Program, an affiliate advertising program. I may earn small commission off of your purchase.

