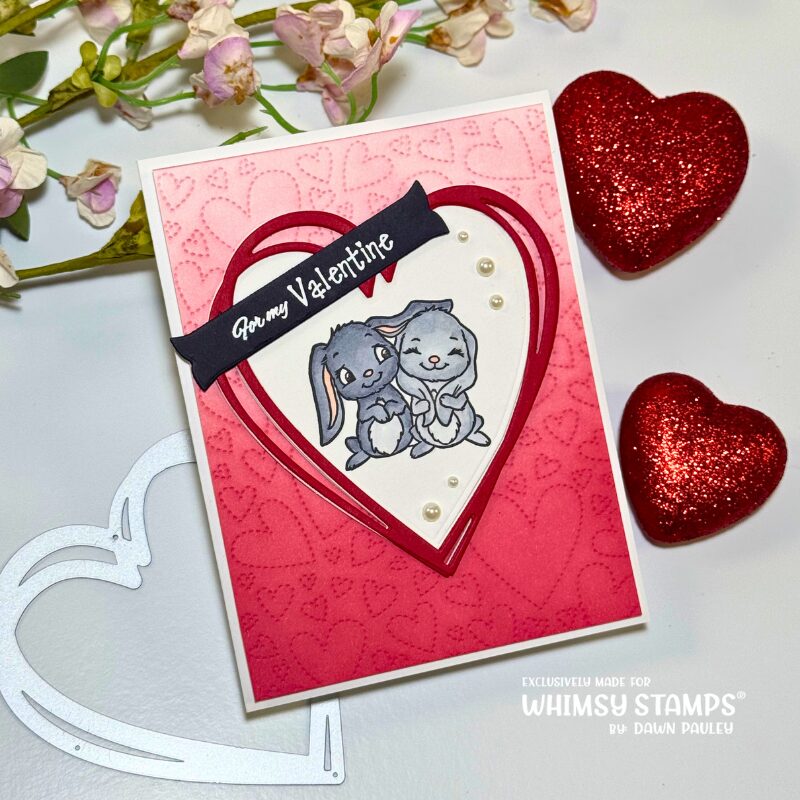
Hi friends! Today I’m sharing an adorable Valentine’s Day card featuring some really sweet products from Whimsy Stamps. This card combines soft ink blending, simple coloring, and layered die cuts to create a warm and heartfelt design that’s perfect for Valentine’s Day — or anytime you want to send a little love.
You can check out all the detail on my YouTube channel below!
Step 1: Create the Background
To start, I die cut a panel of white cardstock using the Floating Hearts Cover Plate. This die creates a beautiful, detailed background that works for so many occasions.
Next, I added ink blending using Lumberjack Plaid Distress Oxide Ink. I began blending heavily at the bottom of the panel and gradually lightened my pressure as I worked upward. This created a soft ombré effect with the lightest color at the top — a perfect backdrop for a Valentine design.
Step 2: Die Cut the Hearts
I die cut the Connected Heart Frame:
- Twice from white cardstock
- Once from red cardstock
These layers will be stacked to add dimension and visual interest to the card.
Step 3: Stamp & Color the Images
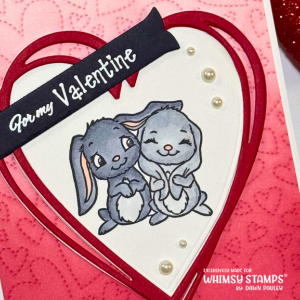
I stamped the bunny image from the Woodland Valentine Stamp Set onto one of the center heart pieces using Copic-friendly black ink.
Then I colored the bunnies with simple shading:
Bunny 1
- Edges: C5
- Blend: C3
Bunny 2
- Edges: C3
- Blend: C1
Ears & Nose
- R11 Pale Pink
Step 4: Add Dimension to the Heart
I stacked the two white heart die cuts together, then adhered the red heart slightly off-center on top. The small white border peeking out adds a fun layered effect against the red background.
Step 5: Heat Emboss the Sentiment
I heat embossed the sentiment onto black cardstock:
- Prep with anti-static powder
- Stamp using white pigment ink
- Add white embossing powder
- Heat set
Then I cut it out using one of the Quick Strips 3 Dies
Step 6: Assemble the Card
I adhered the heart frame to the blended background and inserted the solid heart into the center.
(Tip: It’s easier to adhere the solid heart first and layer the frame over it if your hearts are offset.)
Next:
- Trimmed the panel to 4¼” x 5¼”
- Added craft foam to the back
- Mounted onto an A2 white card base
- Attached the sentiment diagonally across the heart
Finishing Touches
To complete the card, I added self-adhesive pearls. I like picking them up with a craft knife for precise placement — it makes embellishing quick and easy!
I absolutely love how the soft ombré background and layered hearts make the bunnies stand out. This design is sweet, dimensional, and perfect for sharing a little love.
Thanks so much for stopping by my blog today. I hope this card inspires you to pull out your stamps and pattern paper and get crafty. Happy crafting!
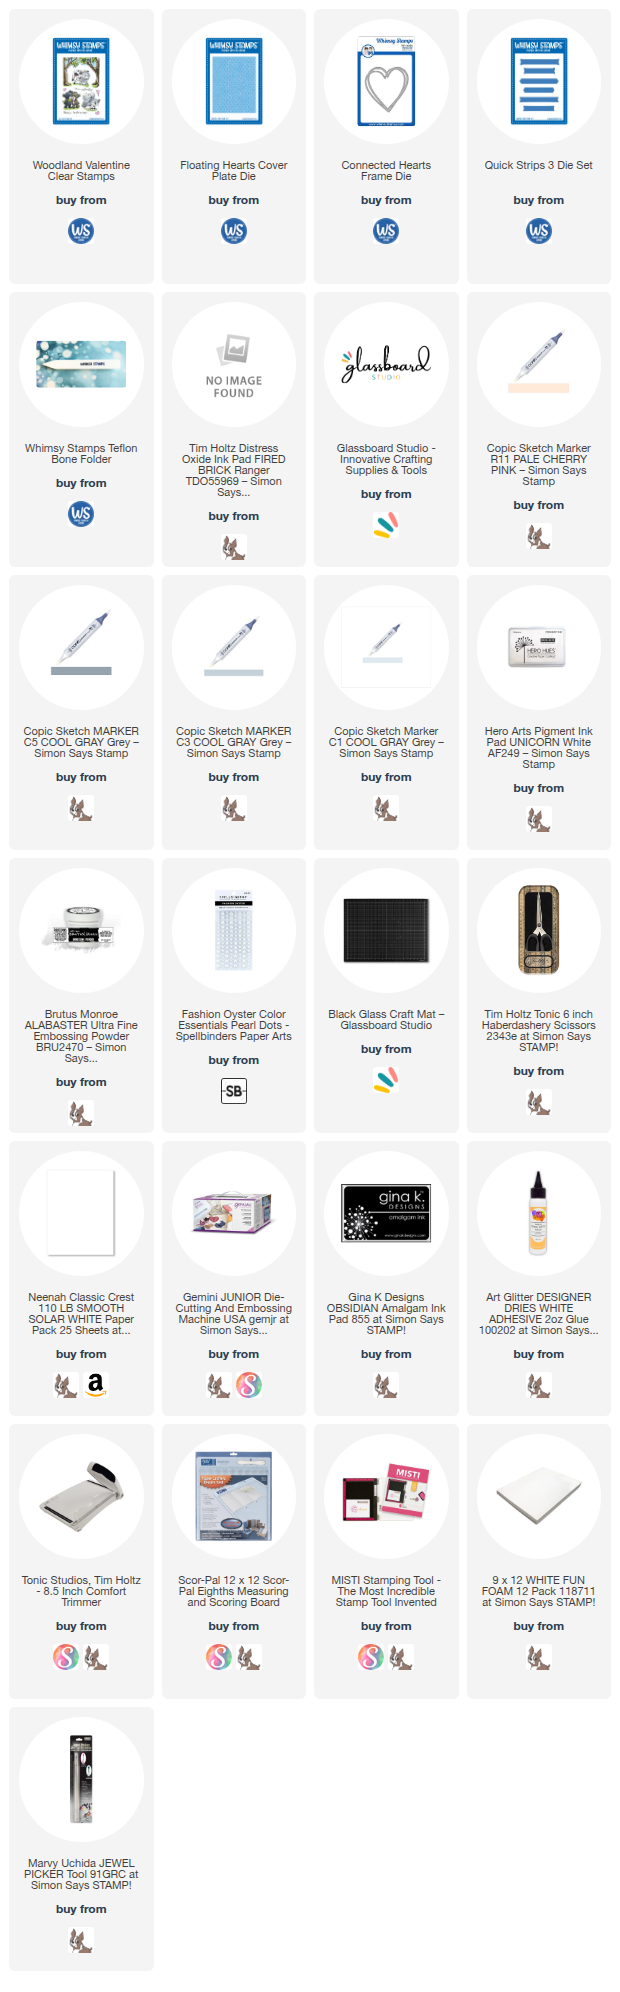
I have attached a list of the products I used to create this card if you are interested.
I also have a 15% off your order code for the Glassboard Studo Glass Mats. – DPAULEY15
Affiliate Links may be used at absolutely NO Charge to you. All items have been personally purchased by me except for the Whimsy Stamp products which are supplied for being on their Design Team. I do not work for any of these companies. Whether gifted or products I bought, I only recommend products I personally use and like. All opinions are my own. Proceeds I make off of the affiliates helps me to offset some of the cost to maintain my blog, YouTube channel and supplies needed to bring you new content.
Copyright: I am happy to share my creations with you. I don’t mind if you use them for your own personal use. If you decide to share what you’ve made online, please link back to my Youtube Channel or Social Media post that inspired your design. While I love this and encourage it. It is NOT ok for someone to sell anything that was created by my design or to use my photos for any type of compensation. I appreciate your understanding in this.
D Pauley Designs is a participant in the Amazon Services LLC Associates Program, an affiliate advertising program.
I may earn small commission off of your purchase.