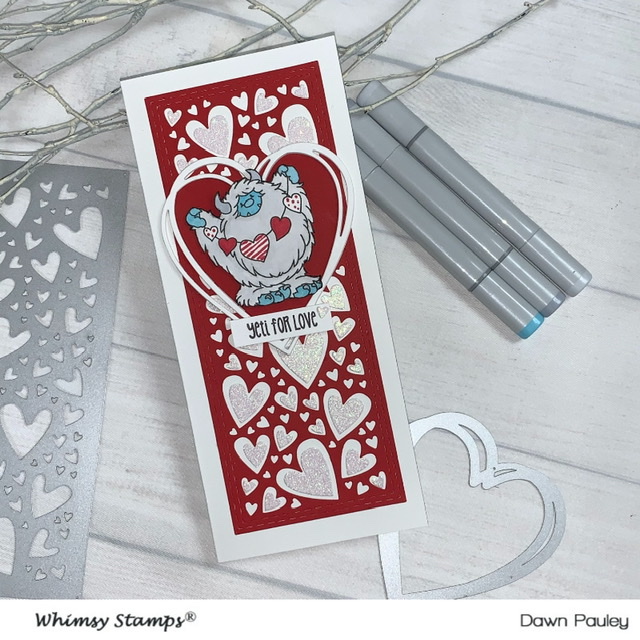
Hello Everyone….Dawn Here. I’m so happy you could join me. Today, I will be making a slimline card using the New Whimsy Stamps Connected Heart Frame Die, the New Slimline Hearts background die and the New Yeti for Love Stamp set.
So let’s get started.
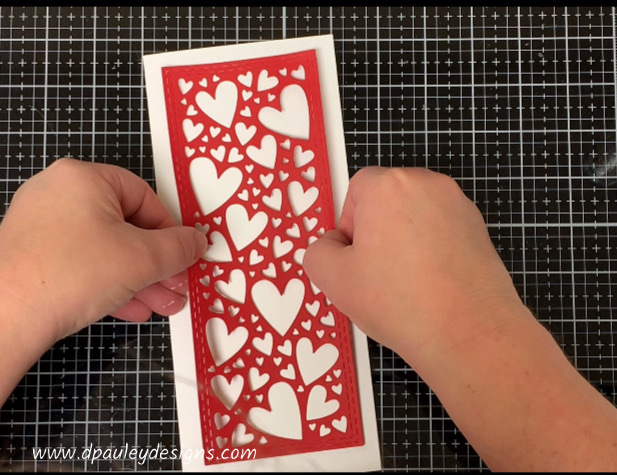
First, I die cut the Heart Background die from red card stock and I save all the hearts from the background die because it makes so many hearts that can be used on many future projects.
Next, I cut a piece of white card stock to 8” x 9” and scored I score it at 4”. I made this into a bigger slimline card so the heart would fit in the center of it and I wanted a white border. But you can make it a little smaller if you want to.
I glue the Heart panel to the front of the card.
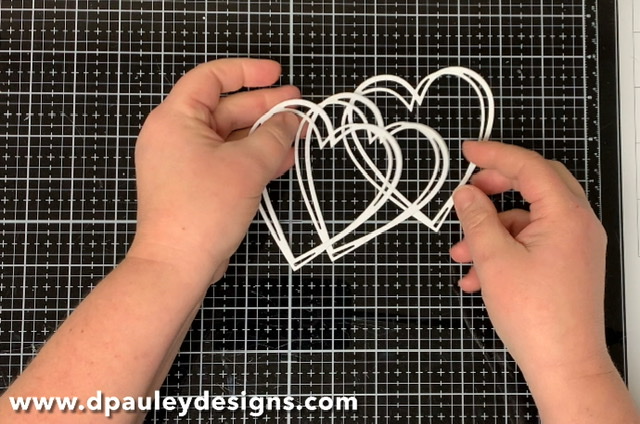
I die cut 3 of the connected heart frames in white card stock because I want to layer them on top of each other to give the card dimension. Then I glue them together. Then I set them aside with the card for later.
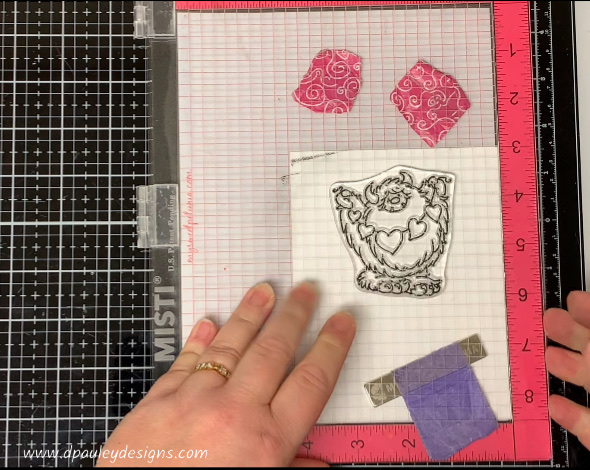
I use my Misti stamping tool to stamp a Yeti from the new Yeti for love stamp set. I use black copic friendly ink to stamp the image.
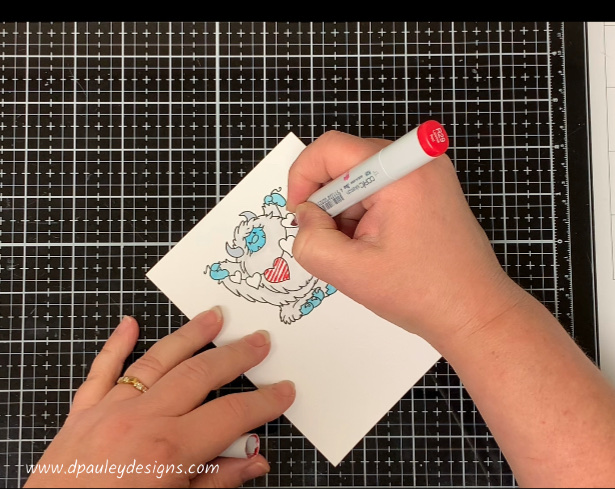
I color in my yeti using copic markers. I use BG02 (New Blue) for his face, hands and feet. I’m not the best at copic coloring. I just do what I like. I do my best with shading and highlights. Also, I found that if you don’t have a lot of colors, you can actually use one marker and where you want it to be darker just keep going over that same area you want darker and It will give the appearance of using 2 different shades.
I didn’t have the color Blue that I really wanted for his face, hands and feet. I actually thought this color blue was a little bright. So to tone it down I put (Neutral gray) NO. 0 over the blue and this helped to tone it down a lot.
I used the (Cool Gray) NO. 3 for his horns, teeth and toenails.
Next, I color his entire body with the (Neutral Gray) NO. 0. This doesn’t really add a lot of color to him. It just basically takes away the stark whiteness of the paper.
I use a red copic marker R29 (Red Lipstick) to color in the hearts. I put stripes on one heart, I put dots on 2 of the hearts and then color 2 of the hearts solid red.
Using my scissors, I fussy cut all around the Yeti to cut him out. The is a fairly simple image to cut out.
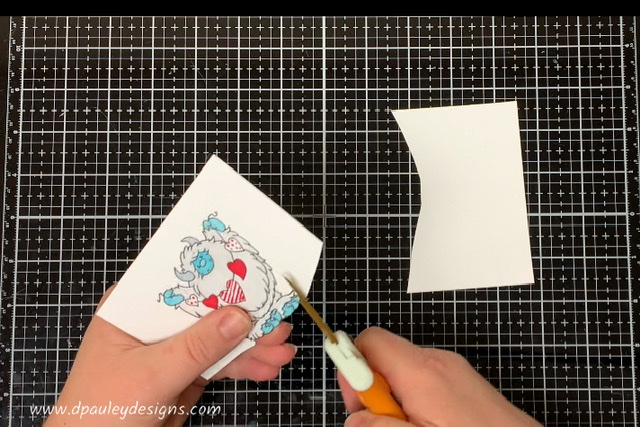
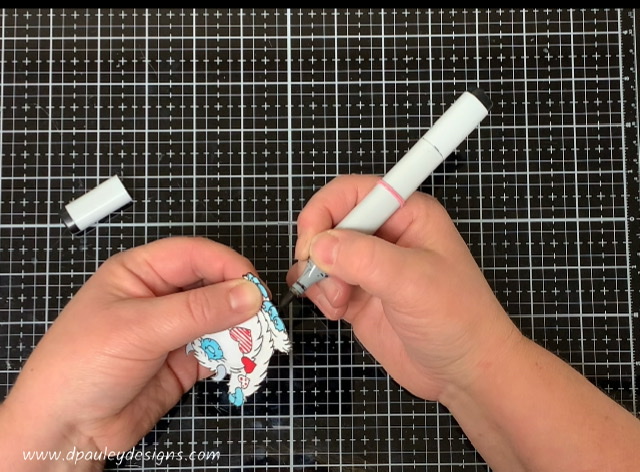
When I’m done. I take my Black copic marker N0. 100 and I go around all the edges of the Yeti. This will cover up any white spots that were left from cutting out the Yeti and give the image a much cleaner look.
I decided that I wanted the middle of the heart to be red so using the Connected Heart frame die. I cut out a red frame. Then, I took the middle of the red heart and put it in the middle of the white frame heart that we had glued together.
I glue the framed heart to the front of the card.
Then you need to raise the yeti up because the white frame is 3 layers and the yeti doesn’t fit perfectly in the middle. So I put foam tape on the back of the yeti to make it level with the Heart Frame.
I glue the middle of the heart in place and then I stick the yeti on top of the heart.
Next, I stamped, Yeti for Love on a strip of white card stock and put foam tape on the back of it and adhered it to the card.
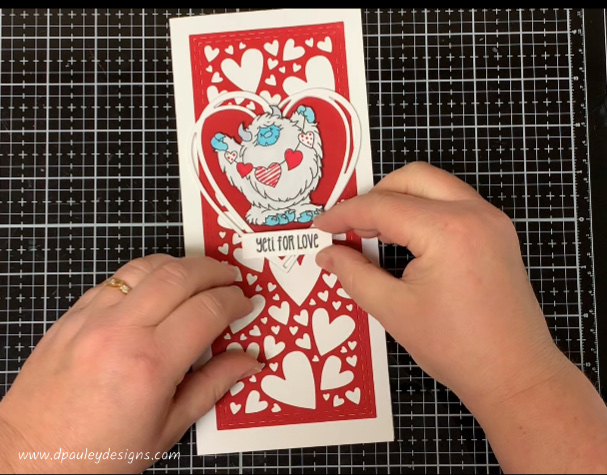
At this point, I decided that the card was missing something. So I decided to cut out the slimline hearts background die from White Glitter Card stock. Then, I went around the card and I filled in the bigger hearts with smaller hearts.
By putting the smaller hearts in the middle of the bigger hearts it actually gives the look of dimension on the card. Now, I actually recommend doing this part before you glue the connected heart frame and yeti to the card because you need to put some of the hearts under the heart frame and I had to try and lift up the frame and stick the hearts under it. So…. it would make the process a little easier if you did it beforehand. But, I didn’t think of it until afterwards.
Once, I’m done using all the hearts, you can save the extras to use on other cards.
That completes my card for today. I hope you enjoyed it. You can check out my video on the Whimsy Stamps YouTube Channel.
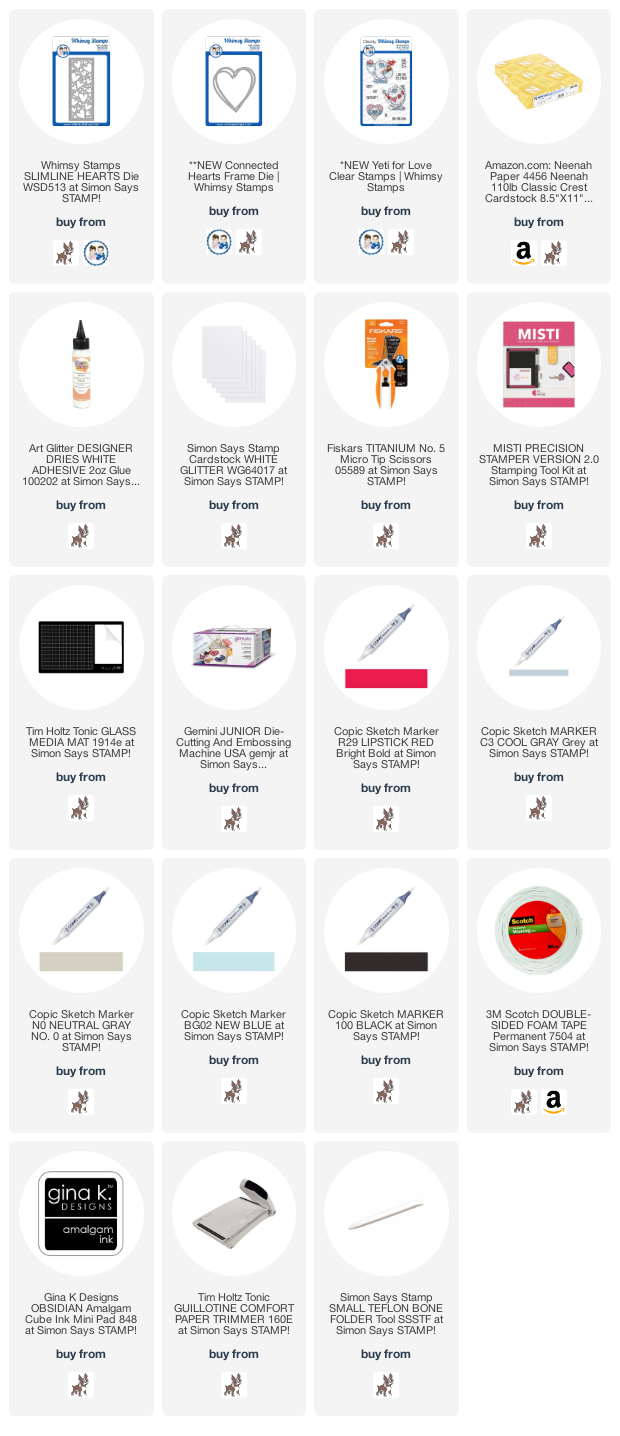
I have attached a list of the products I used to create this card if you are interested.
Affiliate Links may be used at absolutely NO Charge to you. All items have been personally purchased by me except for the Whimsy Stamp products which are supplied for being on their Design Team. I do not work for any of these companies. Whether gifted or products I bought, I only recommend products I personally use and like. All opinions are my own. Proceeds I make off of the affiliates helps me to offset some of the cost to maintain my blog, Youtube channel and supplies needed to bring you new content.
Copyright: I am happy to share my creations with you. I don’t mind if you use them for your own personal use. If you decide to share what you’ve made online, please link back to my Youtube Channel or Social Media post that inspired your design. While I love this and encourage it. It is NOT ok for someone to sell anything that was created by my design or to use my photos for any type of compensation. I appreciate your understanding in this.
D Pauley Designs is a participant in the Amazon Services LLC Associates Program, an affiliate advertising program. I may earn small commission off of your purchase.

